
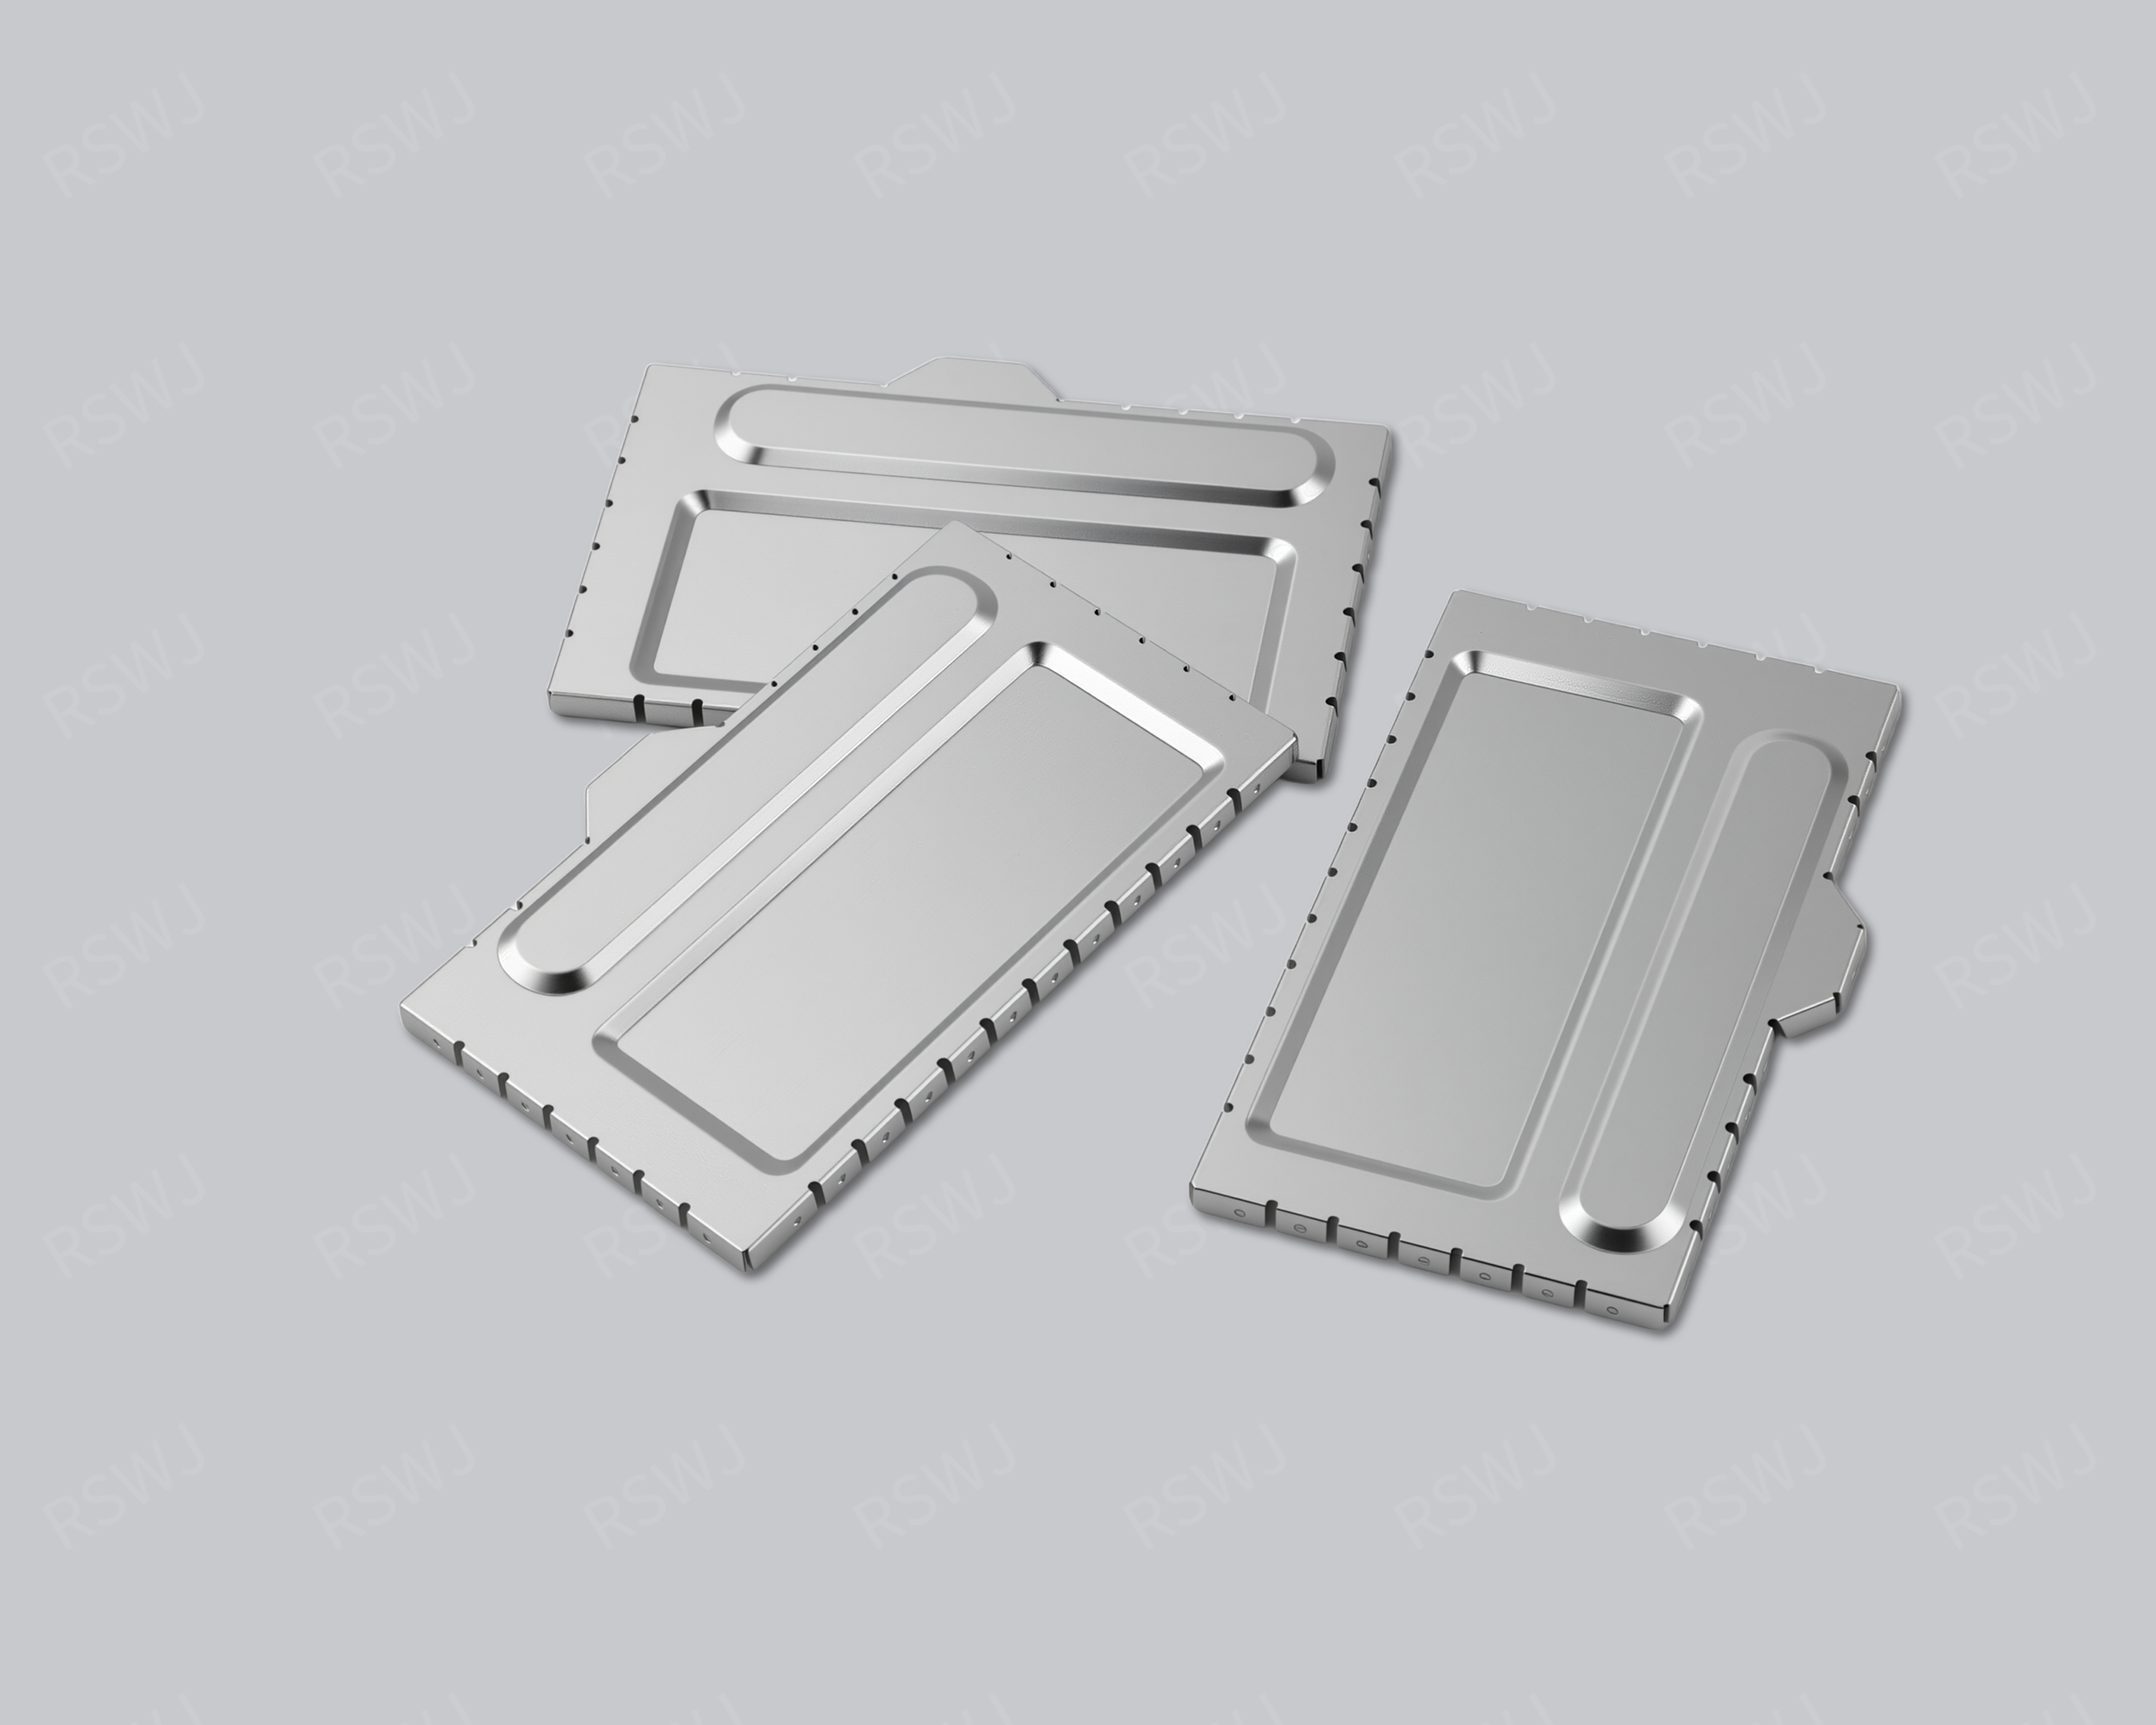
Reference photograph. Material, dimensions and mating requirements are defined in the agreed project drawings.
Fixed mounting and conductive interfaces in the vehicle
A vehicle electronics shield defines coverage around a specified module and its installed housing and harness.
| Design focus | Installed module, harness, fixed datums, conductive contacts and service path |
|---|---|
| Project task | Fixed mounting and conductive interfaces in the vehicle |
| Custom inputs | Current drawings, mating parts, material and final surface, quantity and acceptance requirements. |
Fixed mounting and conductive interfaces in the vehicle
The automotive context does not determine the circuit function, surface requirement or validation status. Locate the module and its coupling concern before selecting a structure.
Use the vehicle module’s actual housing and harness to define attachment datums and contact regions. Specify final surface with the installation conditions, not from the photo. If service is intended, trial removal and reinstallation around the fixed mounting points. Check the restored closure and retain the relevant operating configuration for project evaluation. This supports a particular installed module relationship while avoiding an unsupported generic automotive durability or compliance claim.
Engineering considerations for this project
Use the vehicle module’s fixed mounting references
A vehicle-electronics cover should be located through the references that actually secure the module in its housing or bracket. Identify the board supports, attachment points and neighboring parts that establish the working position. A general outside dimension on the cover may not reproduce that installed relationship. Show the mating references and determine which surfaces of the metal are intended to locate, clear or contact them. This gives manufacturing a defined interface task and helps prevent a sample from being judged in an improvised bench condition that does not represent the module’s fixed installation.
Review the attachment sequence with the relevant connecting parts fitted at the correct stage. A mount that is accessible before a harness or housing component enters may be harder to approach afterward. Identify the operator or tool space needed to complete the assembly and the regions used to support the metal. If the trial removes a part that remains fitted in the intended build, document that difference. A localized check can then reveal whether the cover, the attachment operation or a surrounding reference needs attention, avoiding a broad geometry change that does not address the actual installation issue.
Keep intended conductive contacts identifiable
Where the customer specifies conductive contact between the cover and another part, locate the relevant surfaces and the assembly condition that establishes the interface. State the final-surface requirement separately from the metal outline. A feature can retain the cover mechanically without establishing the intended electrical reference connection, so those functions should not be left implicit. If an insulating region also exists nearby, show its boundary independently. The manufacturer can review the resulting geometry and surface map against the defined assembly while the customer maintains responsibility for the module’s electronic reference arrangement and functional purpose.
Inspect the sample with the module secured to the specified mounting references. Observe the cover’s seated position and the practical way the customer’s contact requirements are represented or checked. An interface that becomes concealed may need an earlier inspection point in the assembly sequence. Distinguish loose-component measurements from installed-contact observations and from customer functional verification. Each provides different evidence. Keeping their objects and conditions recognizable helps engineering determine whether a reported issue concerns the supplied part, its attachment or the partner geometry instead of assigning every installation observation to an unspecified shielding defect. Keep a marked view of the specified contact locations before module closure, together with the installation references used to judge the restored vehicle-electronics assembly.
Verify restoration after the defined service task
If the vehicle module is intended to be serviced, identify whether the cover remains installed, is removed separately or leaves the housing with a larger assembly. Show the actual access direction and the fixed references that remain in place. A removal operation should not depend on forcing the metal past a contact or mount whose condition is required for the restored assembly. Trial the agreed sequence with the relevant housing and harness parts. The aim is to establish a practical service relationship, not to infer a durability result or an approved maintenance method for an unspecified vehicle system.
Check the restored cover position and the relevant contacts after the service trial. Keep the module mounting, housing and harness revisions with the sample record so a replacement part can be evaluated against the same references. If one of those surrounding parts changes, review the affected attachment and restoration conditions even when the cover drawing is unchanged. For an order, state the accepted geometry, material, surface and inspection scope explicitly. This gives the vehicle-electronics reference a traceable supply task while leaving any vehicle-level functional or environmental requirements to the defined project information and the customer’s corresponding evaluation process.
Boundary, clearance and mating design
Coordinate contacts, mounting points, connector clearance and service access. Material and treatment inputs should correspond to the actual installation and environment.
Translate the application into an actual circuit region. Mark the devices, interfaces and surrounding functions involved in the project concern. The equipment name can help organize discussion, but it does not provide hidden dimensions, compatibility or operating performance. Identify what must remain outside the metal boundary, such as a functional antenna, optical region or connection operation. The perimeter then follows a defined electronic and mechanical task rather than an arbitrary rectangle around the board.
Material and final surface definition
Select the material and final surface through forming, attachment, contact and the customer environment. The application label does not determine an alloy or coating for the reference. Specify grade, condition and thickness where required, with the final treatment separate. A working cover edge and a board joining region may need different checks. If a material alternative is evaluated, keep its changed conditions clear instead of treating it as an interchangeable color or marketing designation.
Forming and the installation sequence
Inspect with the final fixed parts and harness. If removal is required, check that the cover can be released without disturbing unintended contacts.
Use the real mounting references and component envelopes to establish fit. Review the path used to place the shield, connect interfaces and fit the surrounding housing. The final position can clear a connector while the required insertion motion remains blocked. Mark intentional contacts separately from required gaps. When another part loads the roof, check the installed state rather than using an unloaded cover height as the full clearance decision.
Surface and service follow the real installation
Compare material, treatment and closure proposals through the specified vehicle module environment and attachment. Mark reference contacts and electrical exclusions separately. Check harness operations and cover restoration if service is intended. Customer project conditions define the verification scope; the automotive topic does not establish a certification or durability value. Keeping the complete installation identifiable makes the proposed component usable for a defined project discussion.
Part inspection and application evaluation
Use customer vehicle-project conditions and the actual assembly. Part acceptance and completed module or vehicle verification remain separate records.
A drawing package for this custom part
| Input | What makes it usable |
|---|---|
| Coverage & interfaces | Installed module, harness, fixed datums, conductive contacts and service path. Mark their relationship with the actual circuit or mating layout; identify fixed references and permitted changes. |
| Final part & datums | A dimensioned finished-part drawing and available 3D information. Identify functional dimensions, the installed condition and the measurement references used to accept them. |
| Material & surface | The specified grade, condition, thickness and final treatment. Show contact, joining and insulated regions separately; identify any alternative that needs evaluation. |
| Assembly & acceptance | Corresponding mating revisions and the installation or access sequence. Distinguish part inspection, matched fit and customer system checks with their agreed conditions. |
Questions for this design review
How should component and vehicle checks be separated?
The component record establishes material, dimensions, surfaces and mating arrangements. Module or vehicle testing uses its customer-defined operating and verification conditions. Identify which documentation and observations belong to each scope. An internal shield can be mechanically accepted without thereby approving the finished vehicle system. Record the housing, harness and attachment versions so later integration changes can be reviewed against the same part definition.
Which drawings support the review of Vehicle Electronics Shielding Can?
Use the current layout and mating assembly to identify installed module, harness, fixed datums, conductive contacts and service path. Mark the relationship that is already fixed and the specific feature being considered for change. A drawing of the cover alone may omit the condition that gives the reference its engineering purpose. Include the corresponding board or base and the intended operation so the proposed revision can be evaluated against a defined task rather than a similar-looking external shape.
In-House Tooling & Formed-Part Quality
Tooling development and forming quality
The manufacturing review for Vehicle Electronics Shielding Can connects how critical features are formed, how they are inspected and how they meet the mating assembly. Ruishuo links in-house die design and CAD/CAM simulation with stamping. Die-making output of more than 100 sets per month is a factory capability; the tool concept is reviewed for the actual project.
Connections, clearance and formed edges
Power and vehicle-module projects need connection points, fixing locations, thermal space and electrical clearance in the tooling inputs. Identify the relevant cut edges, bends and local keep-outs in the finished-part definition. Required environmental, insulation or system tests remain project-specific.
- Formed edges and installation
- Review openings and attachment features against the functional clearance requirements. Specify burr direction, final surfaces and contact areas.
- Checks in the complete module
- Use matching boards, connection parts and enclosures to review the final fit. Agree the project test conditions and records at the sample stage.
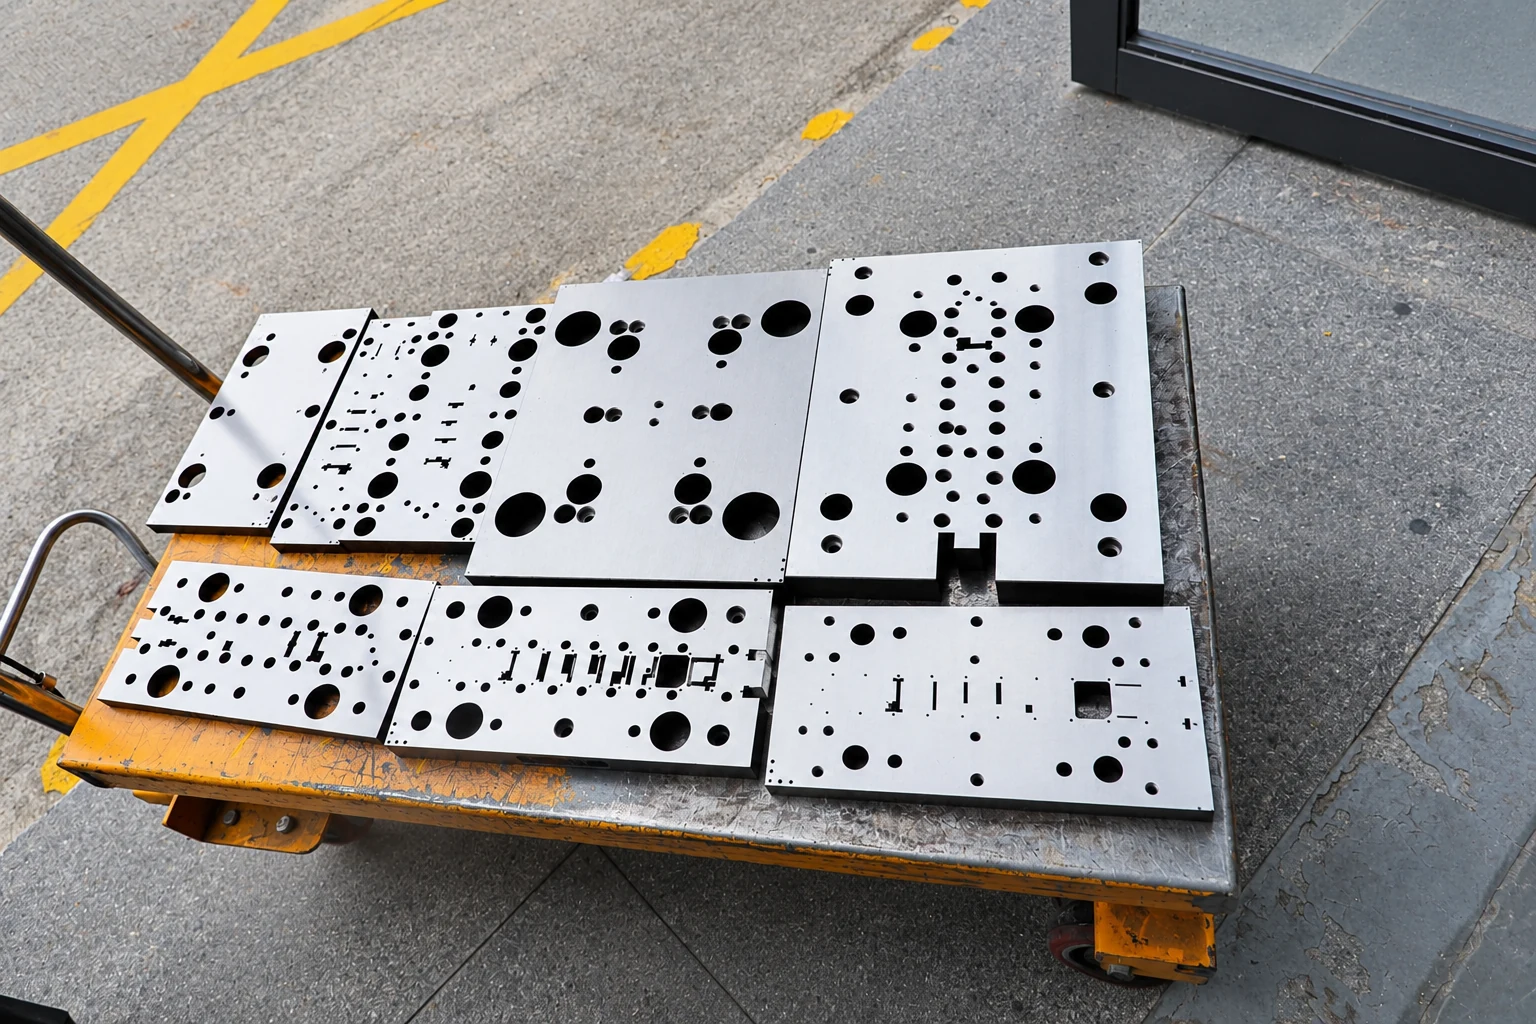
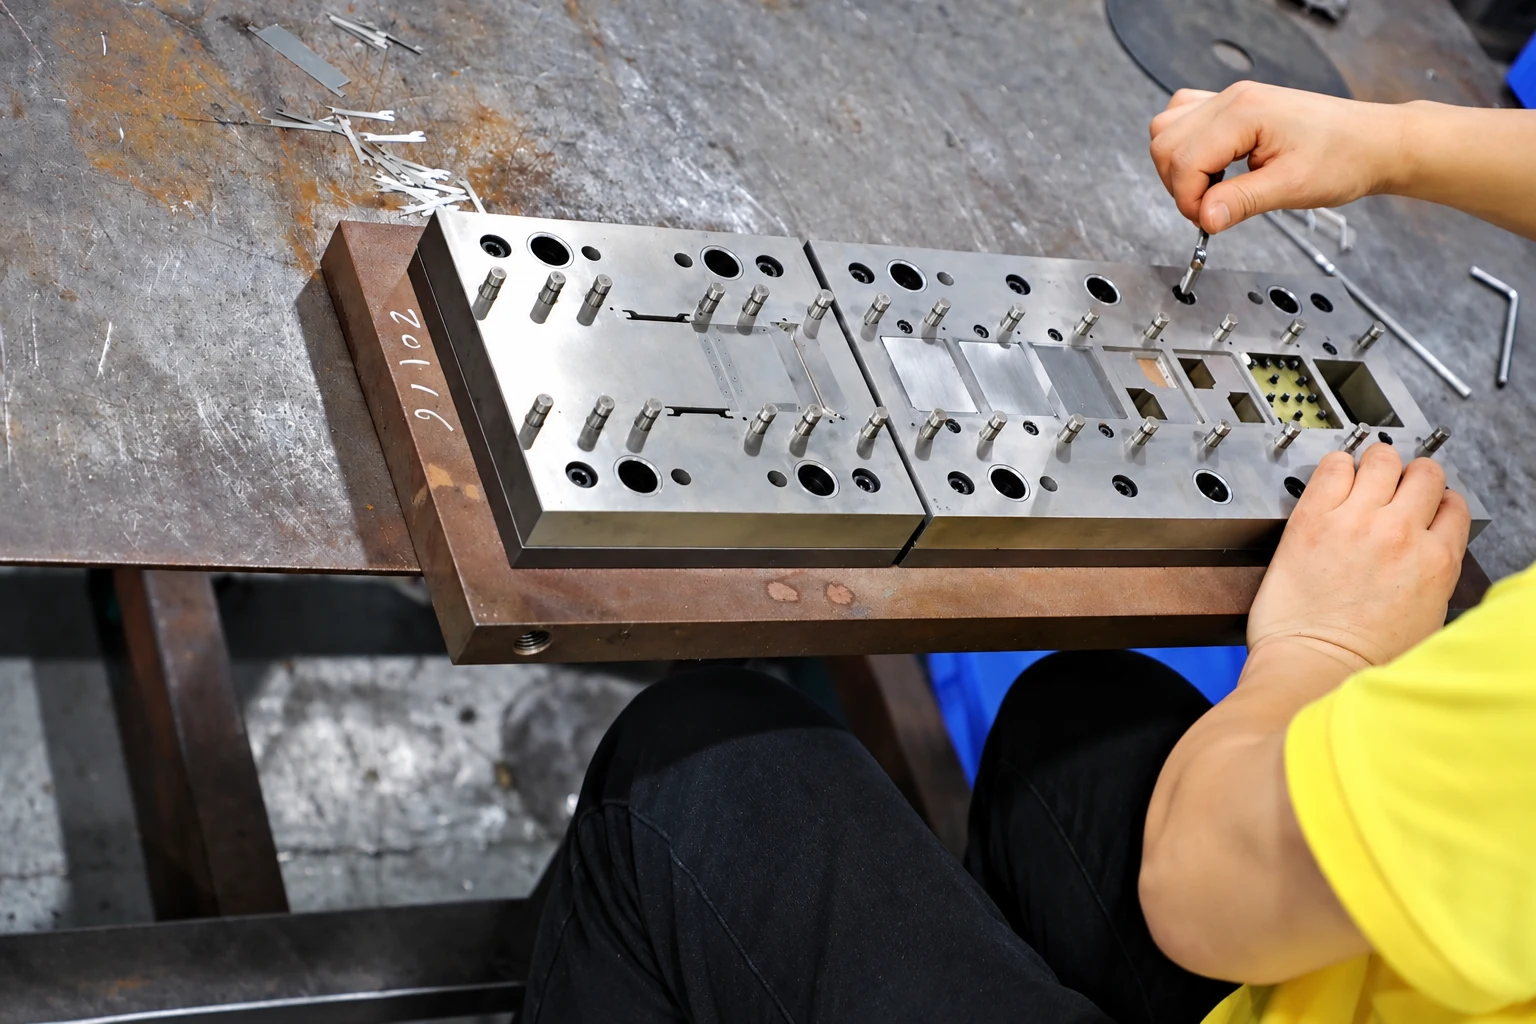
Paid samples include a full dimensional inspection report. Define drawing datums, acceptance criteria and corresponding mating parts so measurement and installed-fit checks can each answer the correct question. Confirm the charges, responsibilities and revision requirements for design changes, tooling work and later production stages within the project scope.
Paid samples and project planning
Samples are chargeable. Reference planning: standard samples 3–5 days; expedited sampling 48 hours; tooling and sample production 7–10 days. These are sample-stage arrangements, excluding mass-production delivery. The project plan is reviewed against the confirmed information, process and sample scope.
Related structures and project directions
Compare references through their coverage, installation and manufacturing tasks.
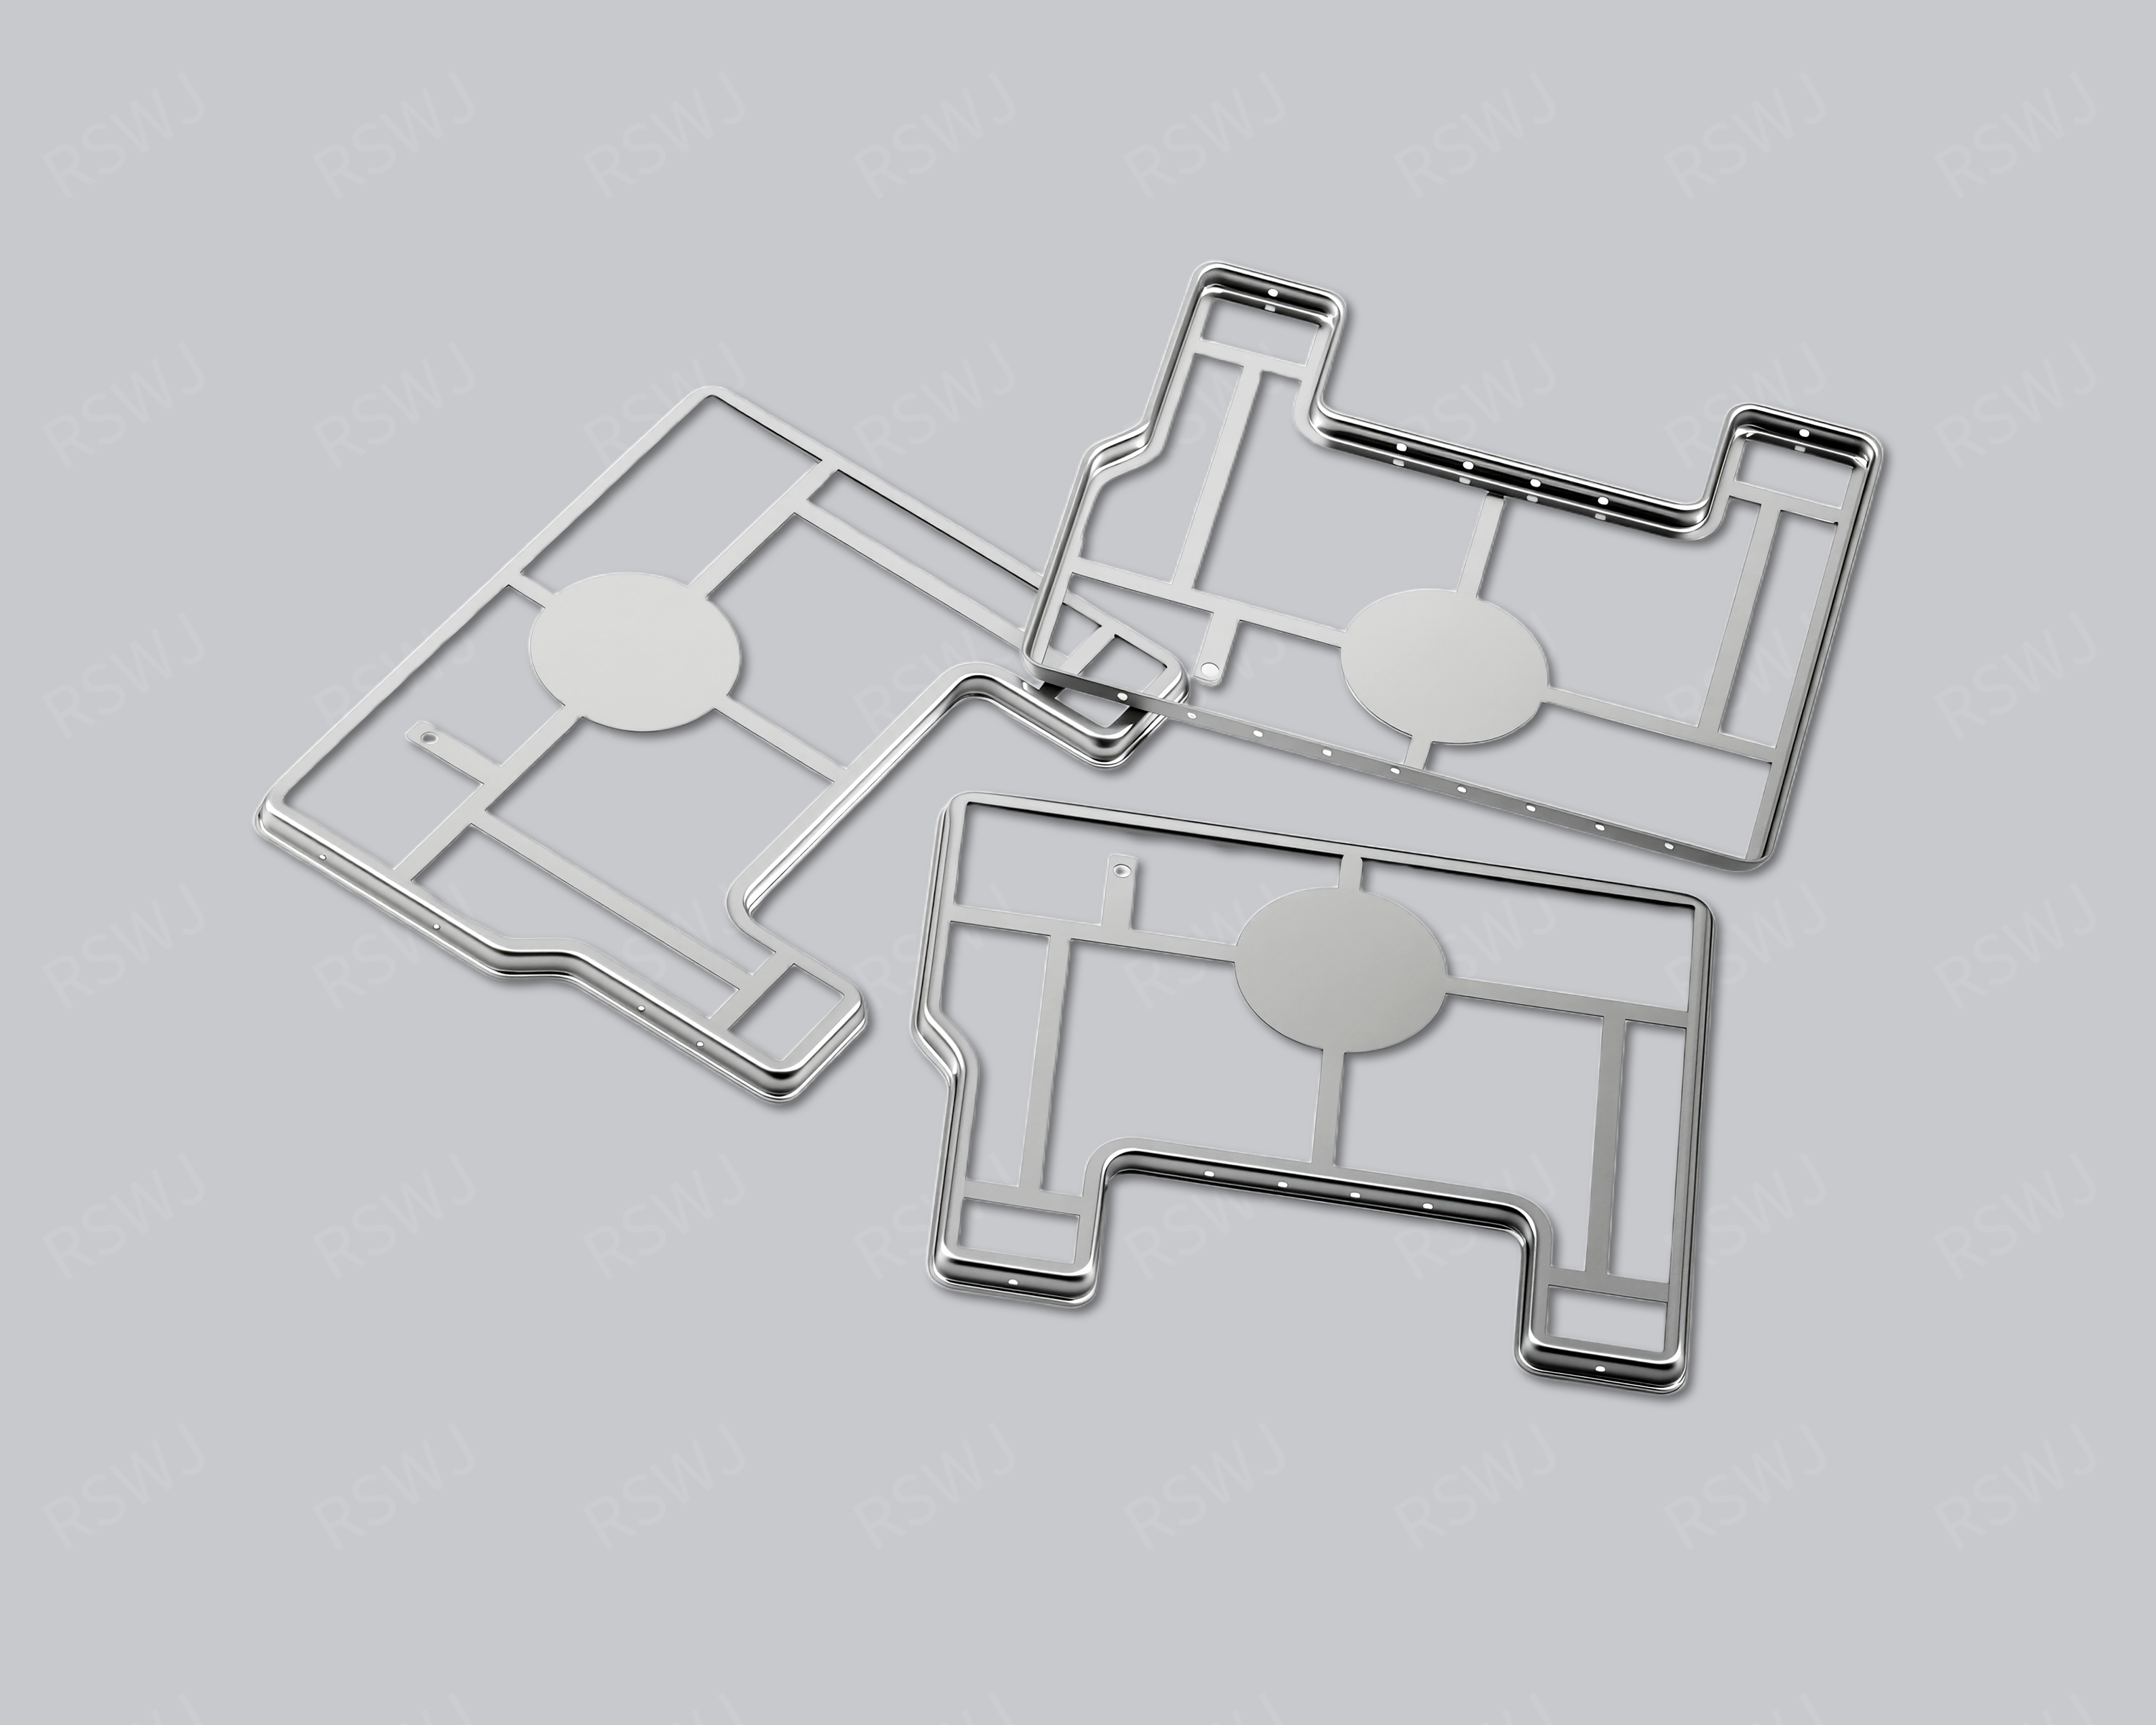
Automotive EMI Shielding Can
A vehicle electronics shield defines coverage around a specified module and its installed housing and harness.
Design & manufacturing details →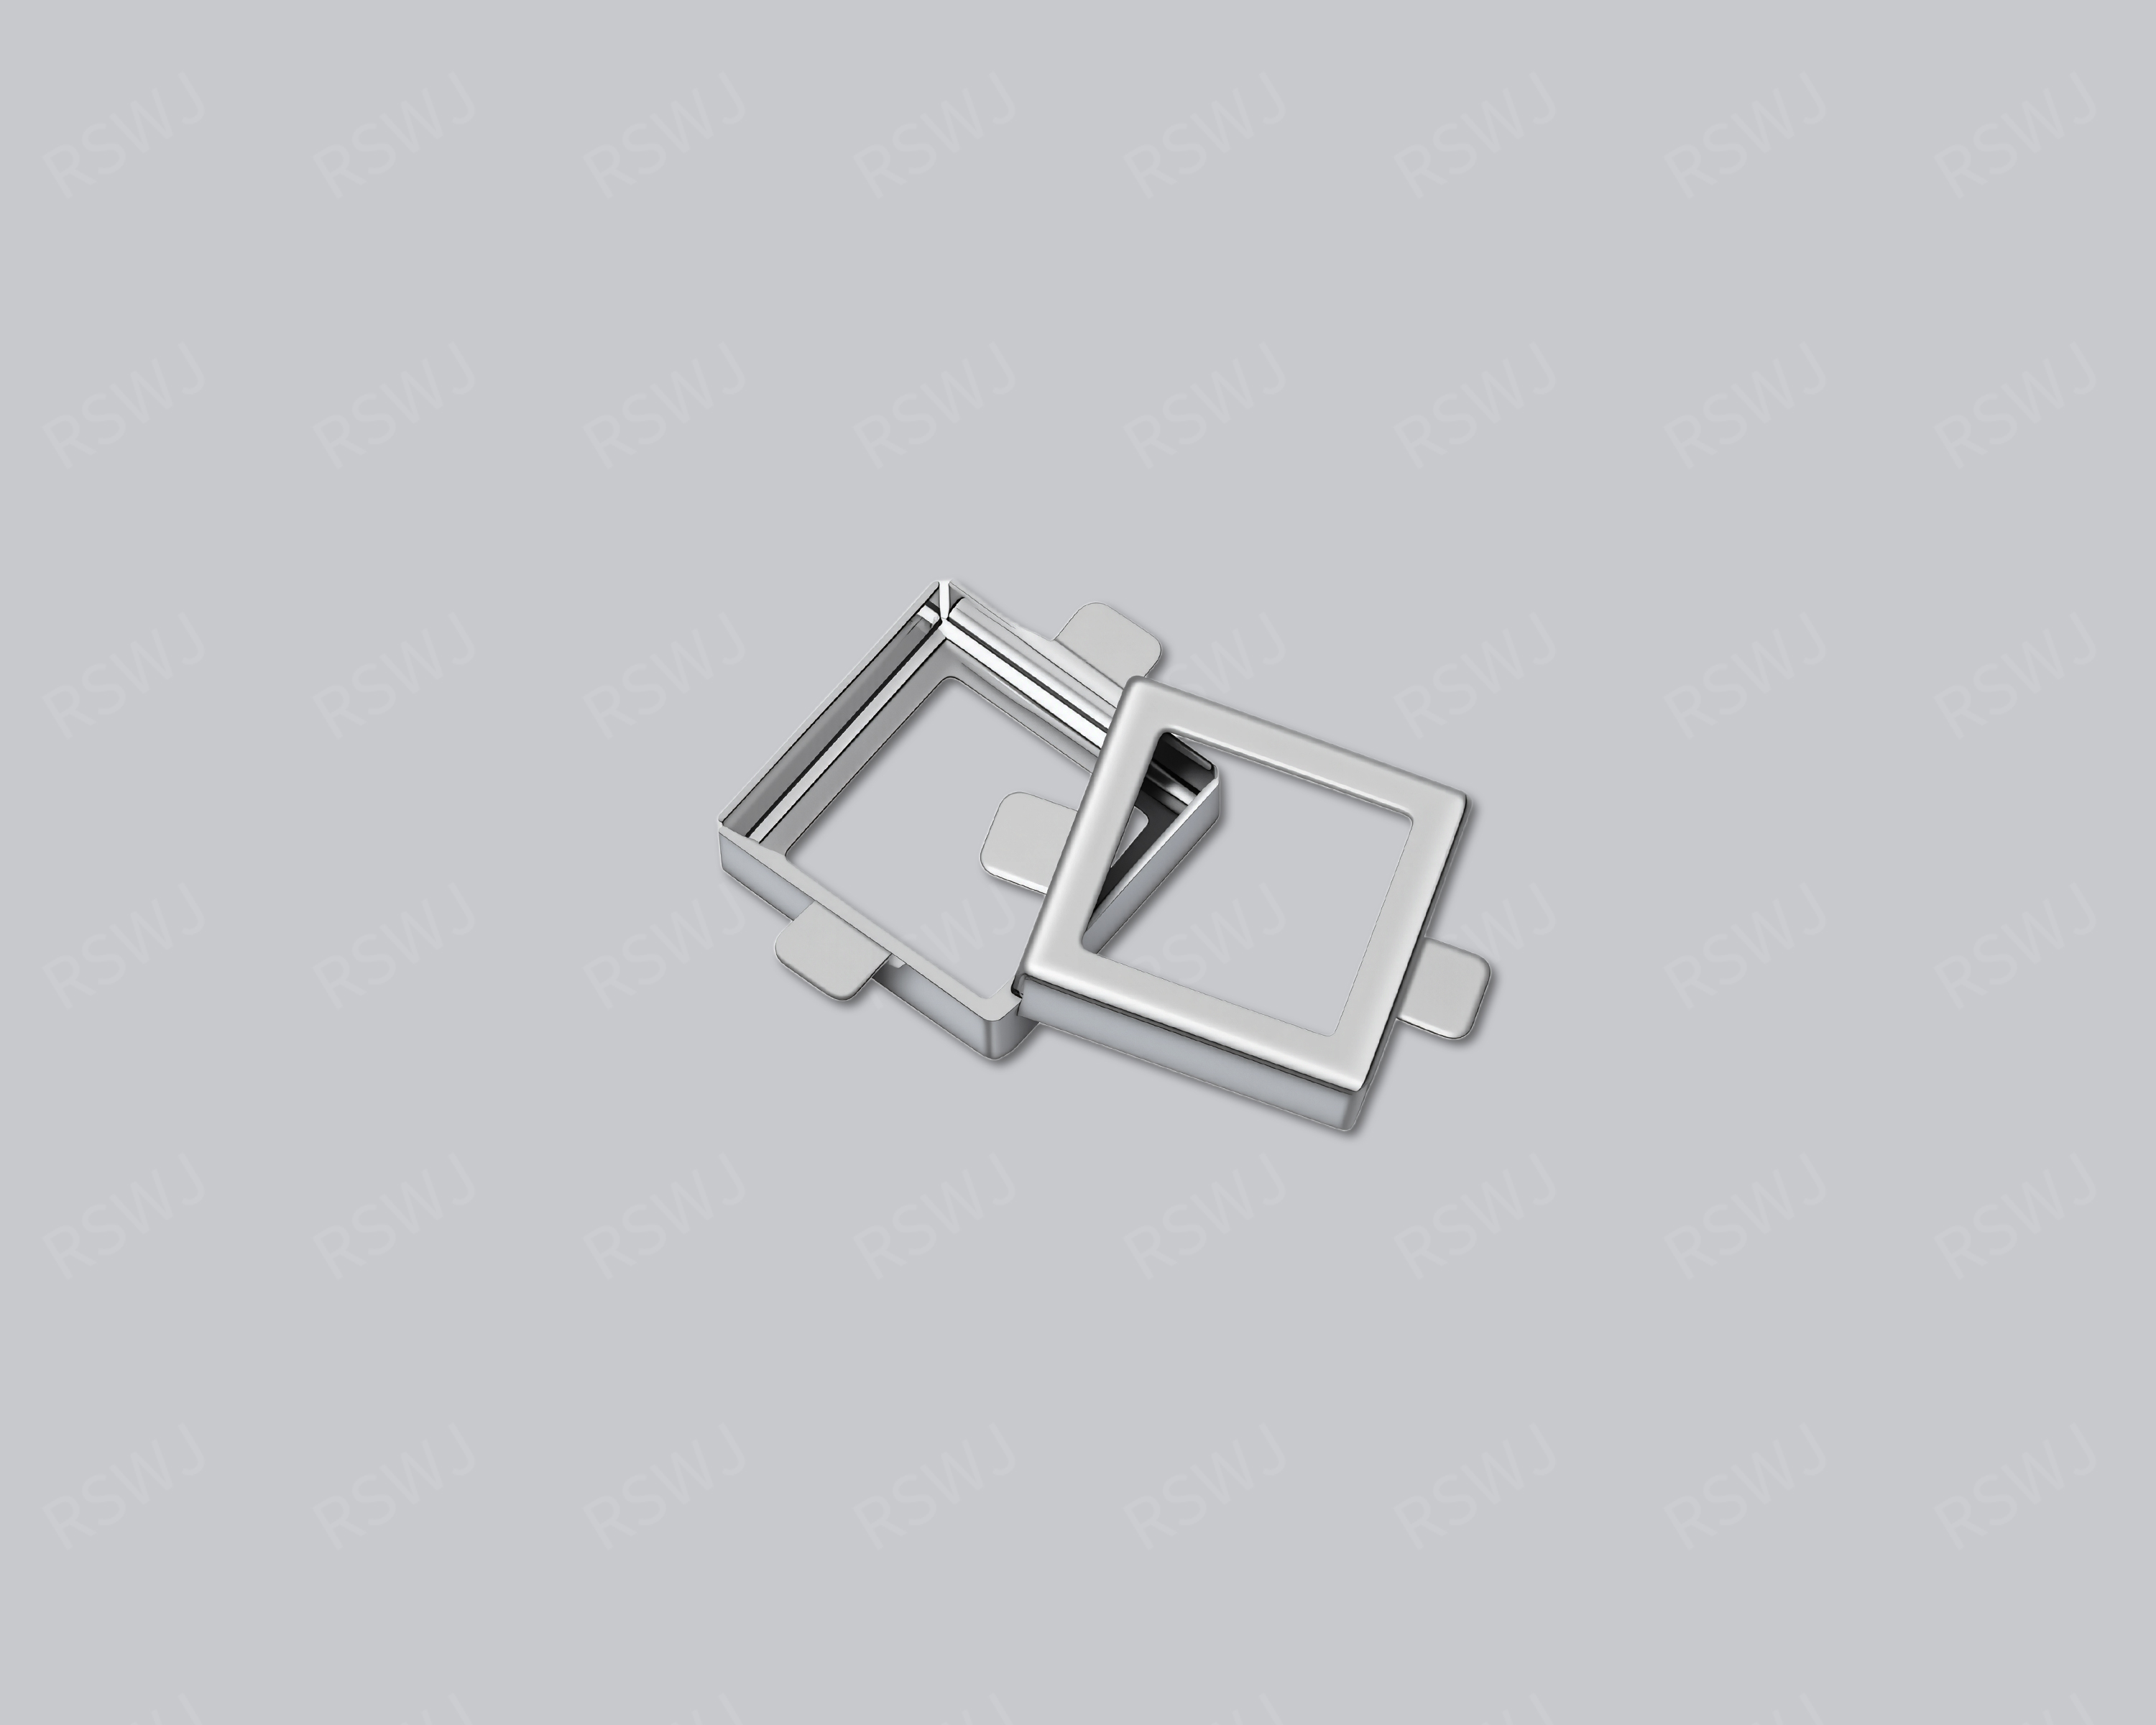
Automotive Shielding Can
A vehicle electronics shield defines coverage around a specified module and its installed housing and harness.
Design & manufacturing details →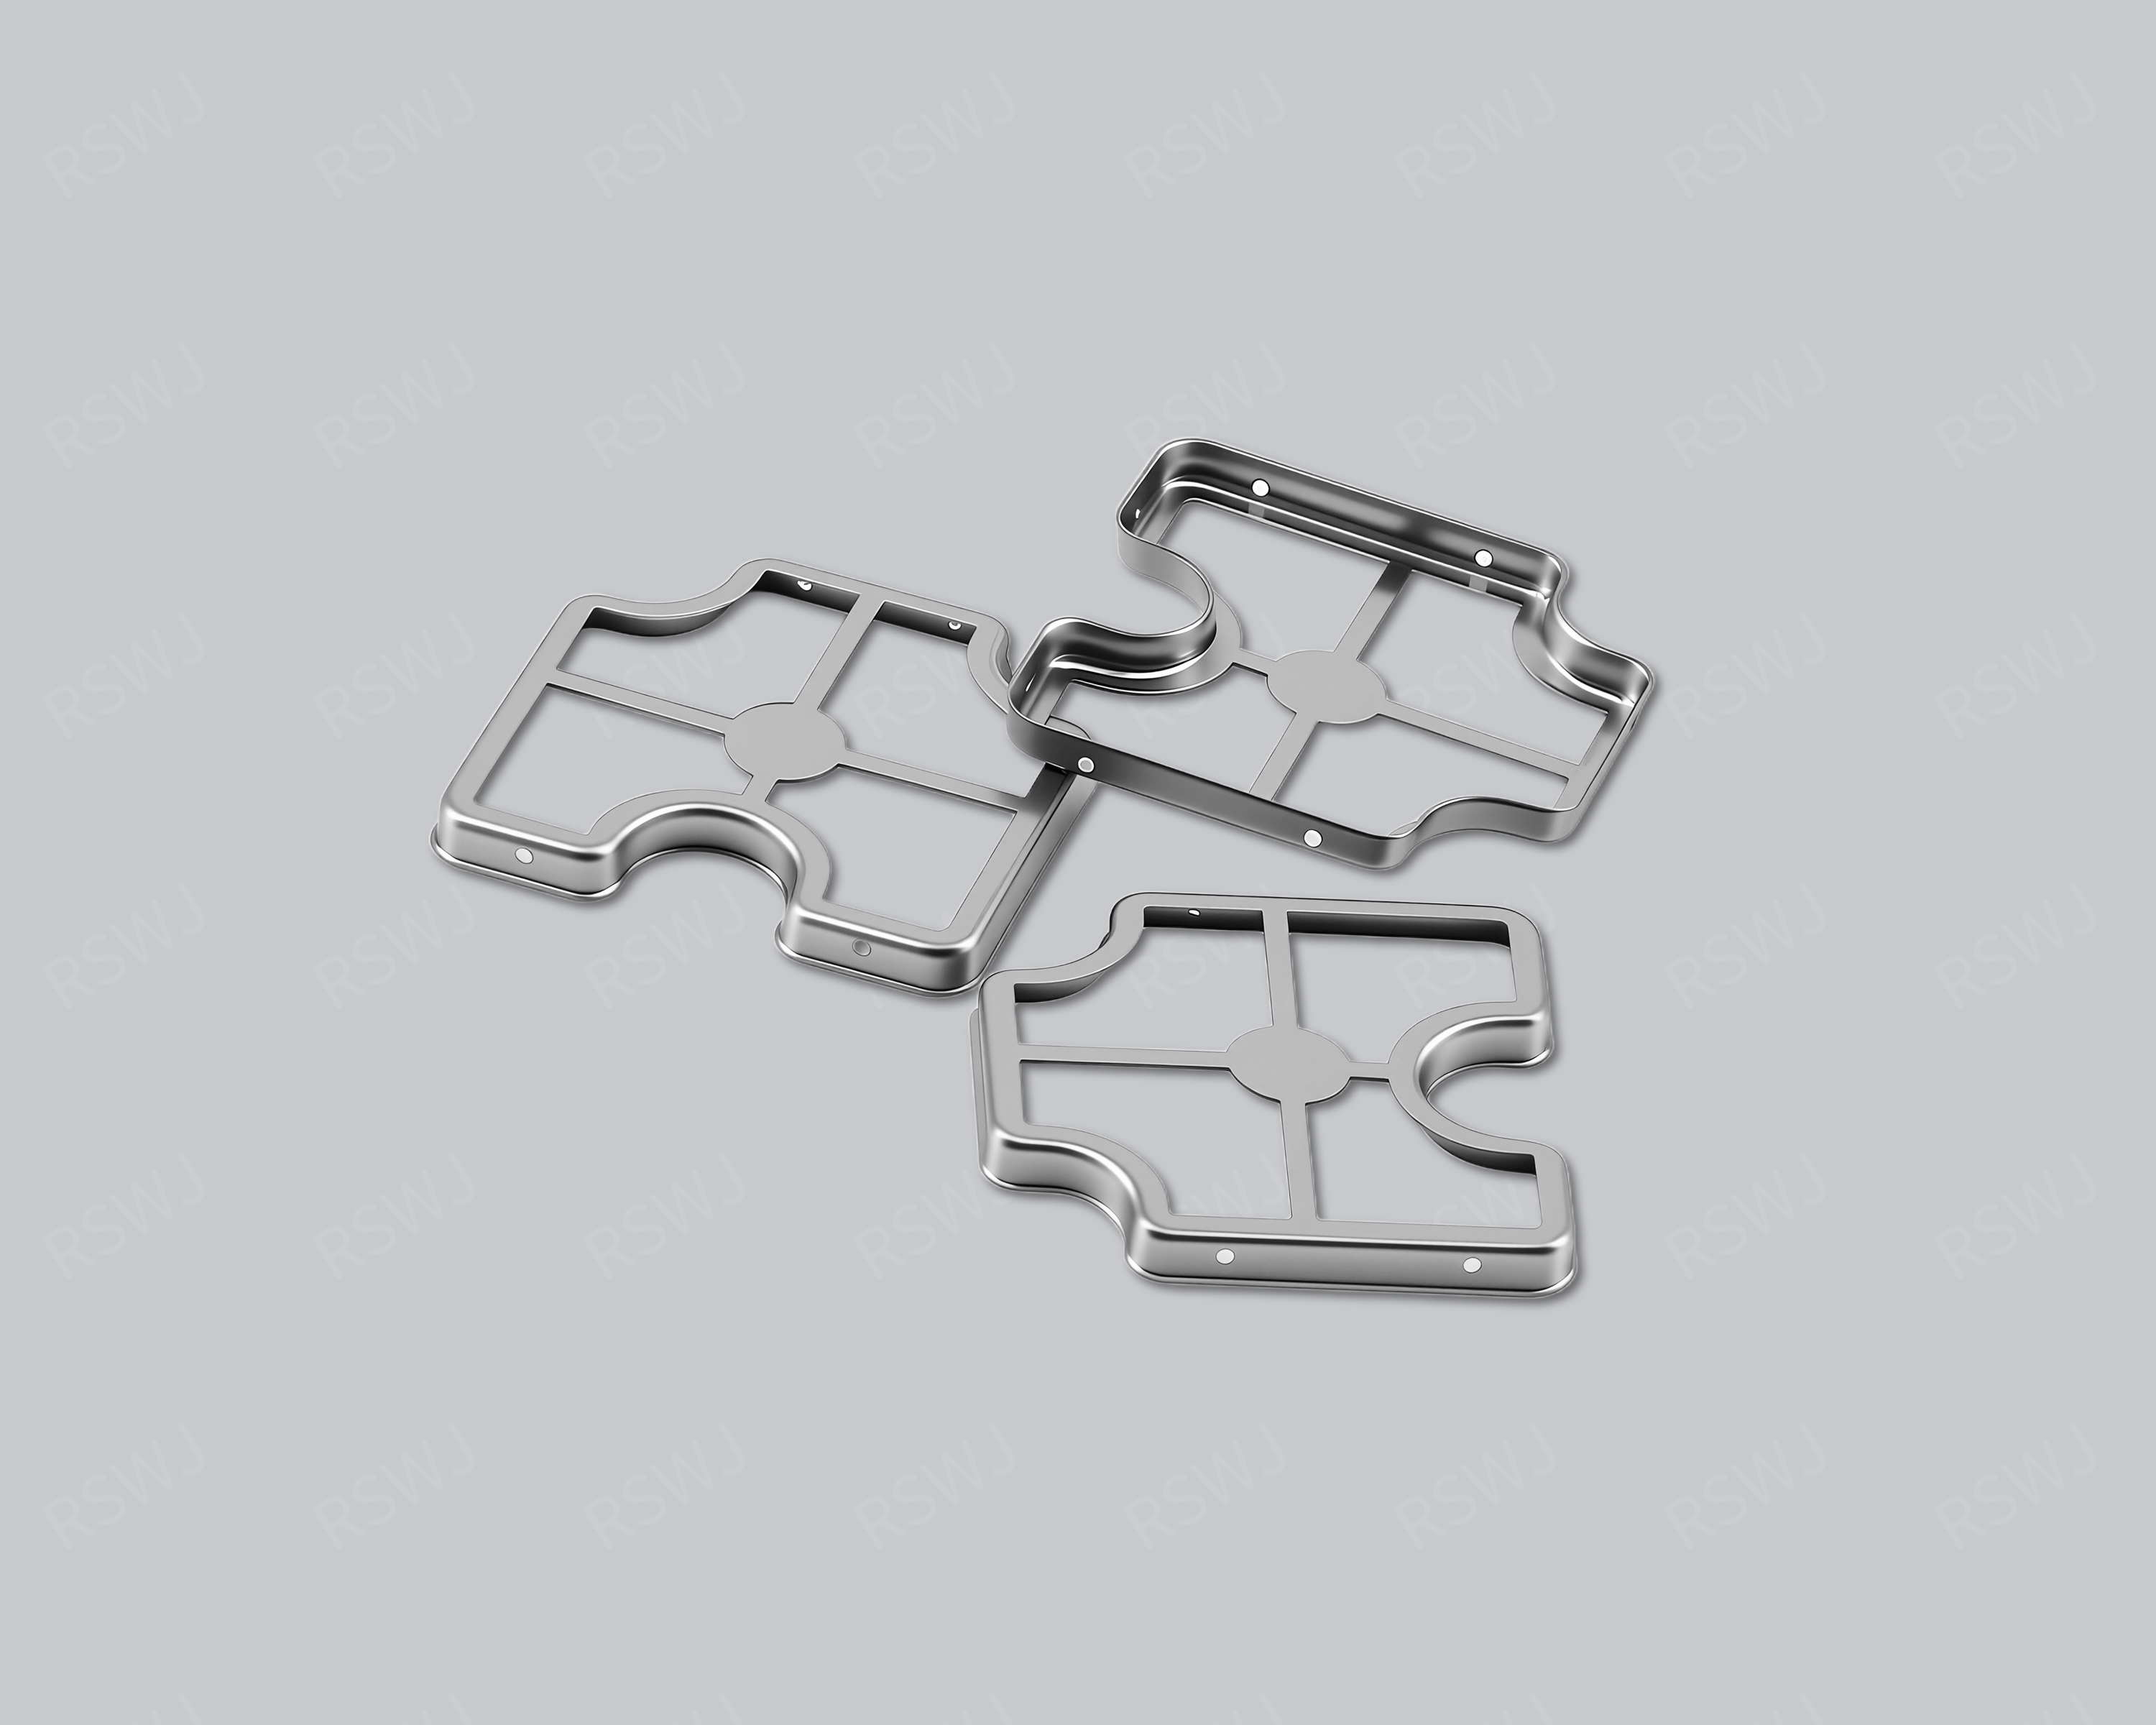
5G Circuit Shielding Can
A 5G shielding can is designed around a specified communication circuit region and its integration conditions.
Design & manufacturing details →Discuss your Vehicle Electronics Shielding Can project
Send the current drawing and mating conditions so we can review the structure, material, sample scope and required checks.
Send your project requirementsExplore electronic applications