
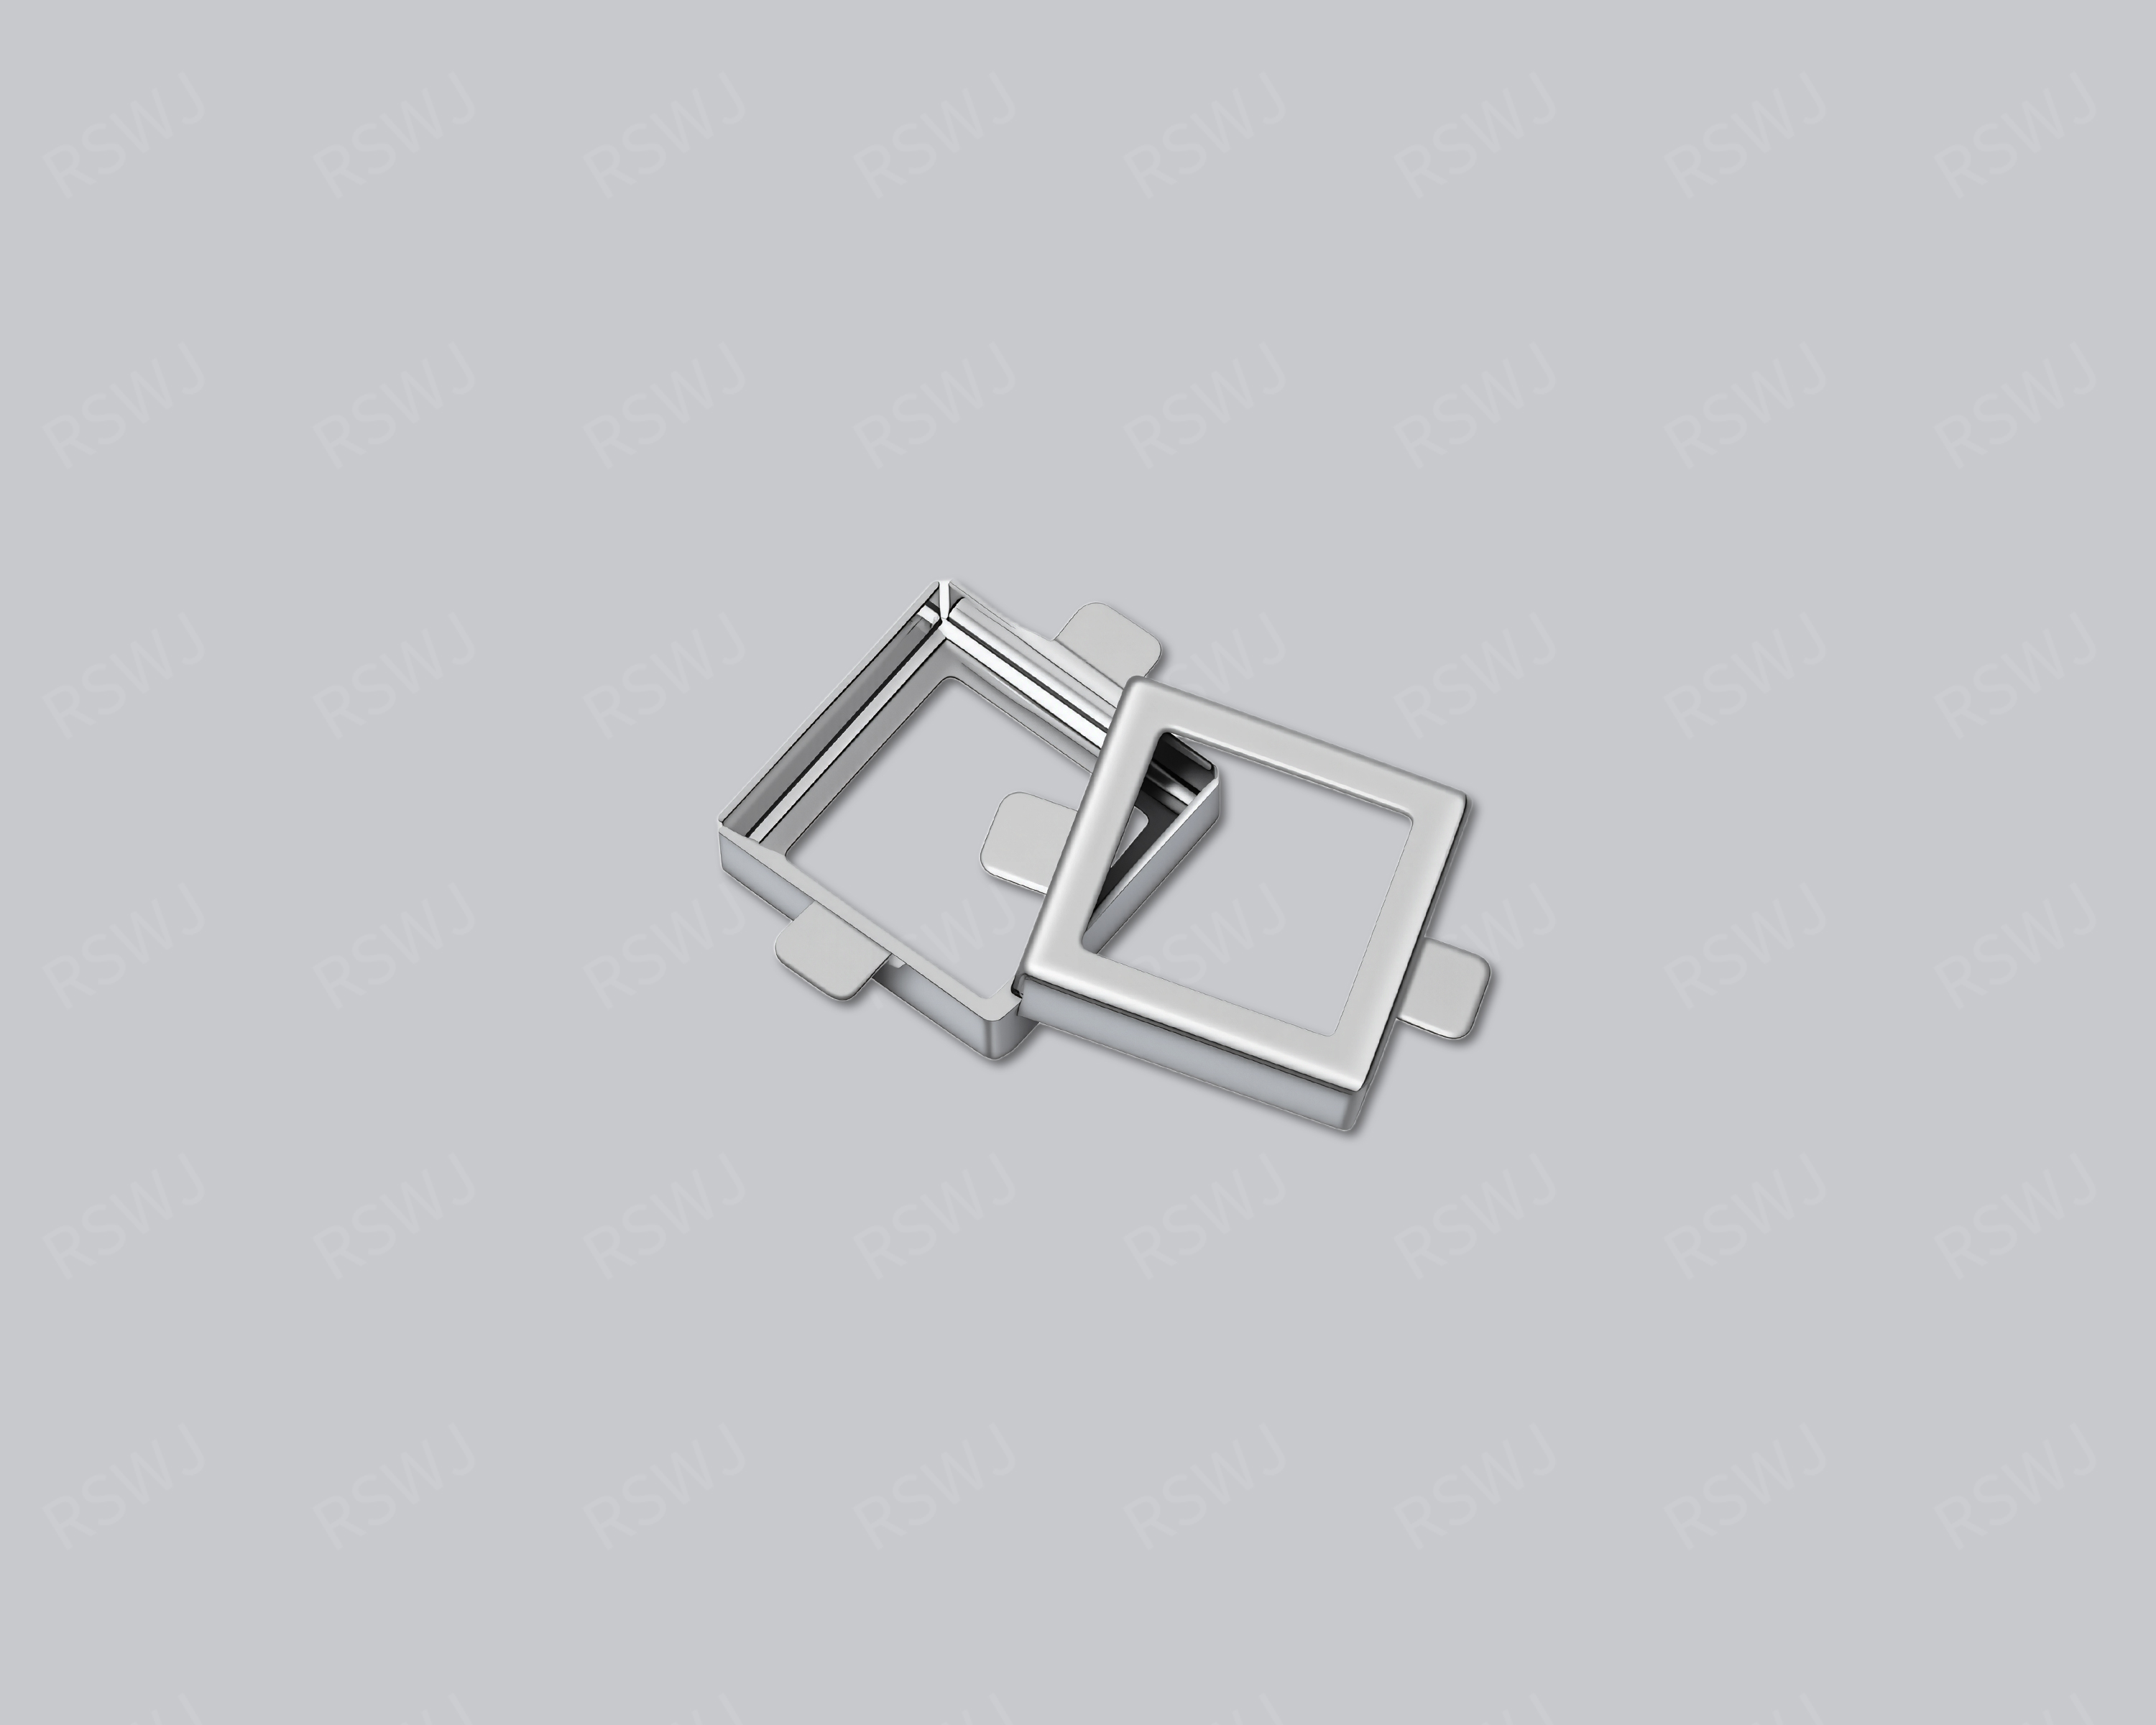
Reference photograph. Material, dimensions and mating requirements are defined in the agreed project drawings.
Small geometry must remain measurable and installable
A miniature shield concentrates coverage and installation within a restricted board area.
| Design focus | Compact corners, accessible datums, placement surfaces and component clearance |
|---|---|
| Project task | Small geometry must remain measurable and installable |
| Custom inputs | Current drawings, mating parts, material and final surface, quantity and acceptance requirements. |
Small geometry must remain measurable and installable
Small outlines leave less room for contact edges, corner transitions and placement tools. Scaling down a larger design does not preserve all of those relationships.
For a miniature cover, identify how small corners, openings and retaining areas will be formed, inspected and handled. A datum shown in CAD needs to be accessible to the actual measurement method. Reserve a gripping or placement surface and choose a supply orientation compatible with assembly. Inspect the sample on the corresponding board. Magnified views help locate concerns, but the agreed dimensional and installed-fit methods establish whether the part meets the project requirement.
Engineering considerations for this project
A small can must have a practical placement relationship
A miniature can should be defined from the protected region, attachment and surrounding components, not by shrinking an existing larger model. The available space must accommodate the walls, functional edges and the motion used to install the part. Identify the real gripping or placement surface and direction. The outline can then be compared against an executable operation rather than only against nominal component geometry and an apparently empty small area on the board.
Compare more compact outlines with the handling and contact space they leave. A reduced footprint may restrict a usable datum, grip or attachment region. Review those consequences with the specified material and final shape. A local corner or relief should have a defined mating purpose. This keeps the miniature reference tied to the actual assembly task, rather than implying that the smallest visible body is automatically preferable or that the catalog name supplies a minimum manufacturable feature.
Make critical small features observable
Choose inspection references that can be reached on the real formed part. A feature located clearly in a model can still need a practical method for measurement. Identify the dimension or contact relationship governing fit and the state in which it is checked. Where a mating feature moves during installation, retain both free and installed observations. This connects the drawing with usable evidence instead of treating a magnified photograph as the dimensional basis of approval.
Inspect small bends, corners and openings with the actual material definition. Functional edge or surface requirements should be located separately from general appearance. If another material or state is proposed, review the features affected while keeping the mating basis fixed. The change can then be assessed through forming and installed fit. Similar exterior color or a matching footprint is not evidence that a material substitution preserves every small working interface.
Include supply presentation and neighboring parts
Trial the placement method with the board and nearby components in their intended sequence. Define orientation and support so the can reaches its position without unplanned contact. Supply presentation and packaging should preserve the locating and working features. If automated placement is intended, the customer process supplies the actual gripping and presentation requirements. A small loose part may be easy to photograph while still needing a defined operation before it can be installed reproducibly.
Check component clearance and final posture after attachment and any upper assembly. When feedback uses close-up images, mark the location and corresponding drawing feature, then record the measurement or fit condition separately. Perspective and magnification can distort apparent size. A concern may originate in the miniature can, board placement or the installation route. Those different stages provide a more useful basis for revision than changing a local feature from an unscaled image alone.
Use a focused sample and revision definition
Provide the dimensioned part, matching layout, material and surface requirements, critical datums and installation method together. Identify whether the next sample resolves geometry, handling or a mating question. The evaluation should use the corresponding parts and operation. This makes the miniature project concrete without supplying unprovided tolerances, dimensions or a general performance result from the reference name.
For repeat manufacture, retain the accepted part and board versions with the handling and inspection basis. If neighboring components or supply presentation change, review the affected placement and access relationships even when the can outline is unchanged. A replacement or revised sample can then be assessed through one reproducible configuration. The compact reference becomes a documented custom component rather than a presumed standard part that fits every similarly sized circuit. Retain the measurement orientation and placement method used for the miniature sample. Those conditions explain how a small feature is located and checked, especially when close-up images accompany feedback. A repeated trial can then distinguish the same dimensional concern from a changed gripping or board-placement condition that only appears visually similar at magnification.
Boundary, clearance and mating design
Review small bends, openings and retaining features with the material condition. Clearance includes component placement variation as well as nominal package geometry.
A structural comparison should distinguish the closed position from the motions used to reach it. Show the insertion path, the seated location and any later opening operation on the assembly drawing. Adjacent parts can allow the final shape yet block a required motion. That difference affects whether a fixed body, separate lid or another arrangement is practical. Identify the interfaces that cannot move before comparing outlines, so an alternative is evaluated against the same installation task.
Material and final surface definition
A fixed sidewall, a working snap edge and a separate contact component need not share the same material condition or surface requirement. Specify each component in the assembly and identify any feature that moves during installation. Review the alloy, sheet condition and final surface against those functions. A structural name is not a material specification; use the drawing package to distinguish the agreed material direction from an alternative still being evaluated.
Forming and the installation sequence
Define gripping surfaces, orientation and supply presentation. Inspection datums must remain accessible on the finished part, particularly where the board area is dense.
Choose critical dimensions from the finished assembly relationship. A general outside length may be less useful than the landing edge, a cover-engagement location or a partition position. Define datums that can be recognized on both the drawing and the real part. The inspection method should be practical for the selected feature. Where a wall or lid works in a loaded or deflected state, state that condition separately from the free-state component measurement.
A compact part needs a practical handling plan
Compare miniature outlines using available contact edge, forming features and placement access. The smallest nominal footprint may leave no stable gripping surface or usable inspection datum. Review packaging orientation with the assembly team and identify whether the part is placed manually or by the customer equipment. The product reference does not establish a minimum manufacturable feature; actual geometry, material and inspection requirements are assessed together.
Part inspection and application evaluation
Check fit on the actual board with a suitable measurement method. Magnified photographs locate an issue but do not establish a dimensional deviation.
A drawing package for this custom part
| Input | What makes it usable |
|---|---|
| Coverage & interfaces | Compact corners, accessible datums, placement surfaces and component clearance. Mark their relationship with the actual circuit or mating layout; identify fixed references and permitted changes. |
| Final part & datums | A dimensioned finished-part drawing and available 3D information. Identify functional dimensions, the installed condition and the measurement references used to accept them. |
| Material & surface | The specified grade, condition, thickness and final treatment. Show contact, joining and insulated regions separately; identify any alternative that needs evaluation. |
| Assembly & acceptance | Corresponding mating revisions and the installation or access sequence. Distinguish part inspection, matched fit and customer system checks with their agreed conditions. |
Questions for this design review
How are small dimensional concerns reported clearly?
Use an identified datum and a measurement method suited to the feature, with the drawing revision and part orientation recorded. Close-up photographs should mark the location and observed interference, not supply a scale inferred from image pixels. Check the corresponding board and component envelope before changing the cover. A dimensionally correct miniature body may still need an assembly-route change if tools or neighboring parts prevent its intended placement.
Which drawings support the review of Miniature Shielding Can?
Use the current layout and mating assembly to identify compact corners, accessible datums, placement surfaces and component clearance. Mark the relationship that is already fixed and the specific feature being considered for change. A drawing of the cover alone may omit the condition that gives the reference its engineering purpose. Include the corresponding board or base and the intended operation so the proposed revision can be evaluated against a defined task rather than a similar-looking external shape.
In-House Tooling & Formed-Part Quality
Tooling development and forming quality
The manufacturing review for Miniature Shielding Can connects how critical features are formed, how they are inspected and how they meet the mating assembly. Ruishuo links in-house die design and CAD/CAM simulation with stamping. Die-making output of more than 100 sets per month is a factory capability; the tool concept is reviewed for the actual project.
Forming and handling a compact shield
Small or low-profile parts combine limited component clearance with narrow formed features and handling constraints. Identify the critical openings and forming areas. Separate the manufactured free-state geometry from the condition after clamping or installation.
- Datums and part support
- Specify the walls, edges, openings and component clearances. Agree the inspection method with the way the part is supported.
- Protection during assembly supply
- Review picking faces, support points and packaging direction against the assembly method. Validate the sample in the complete assembly.
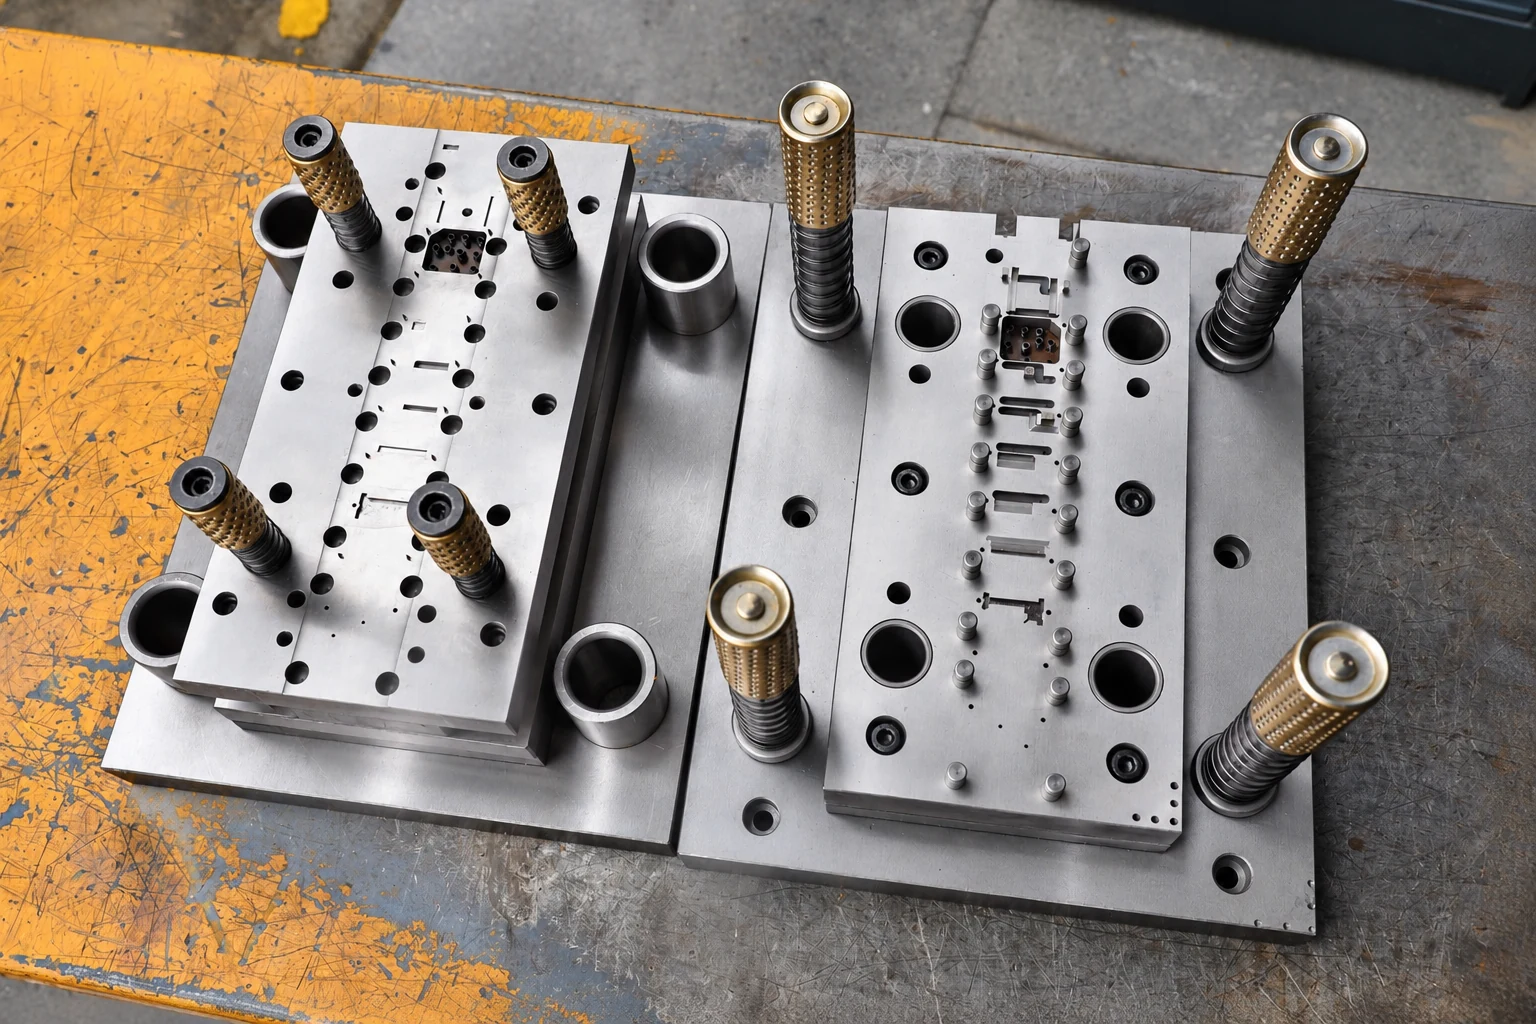
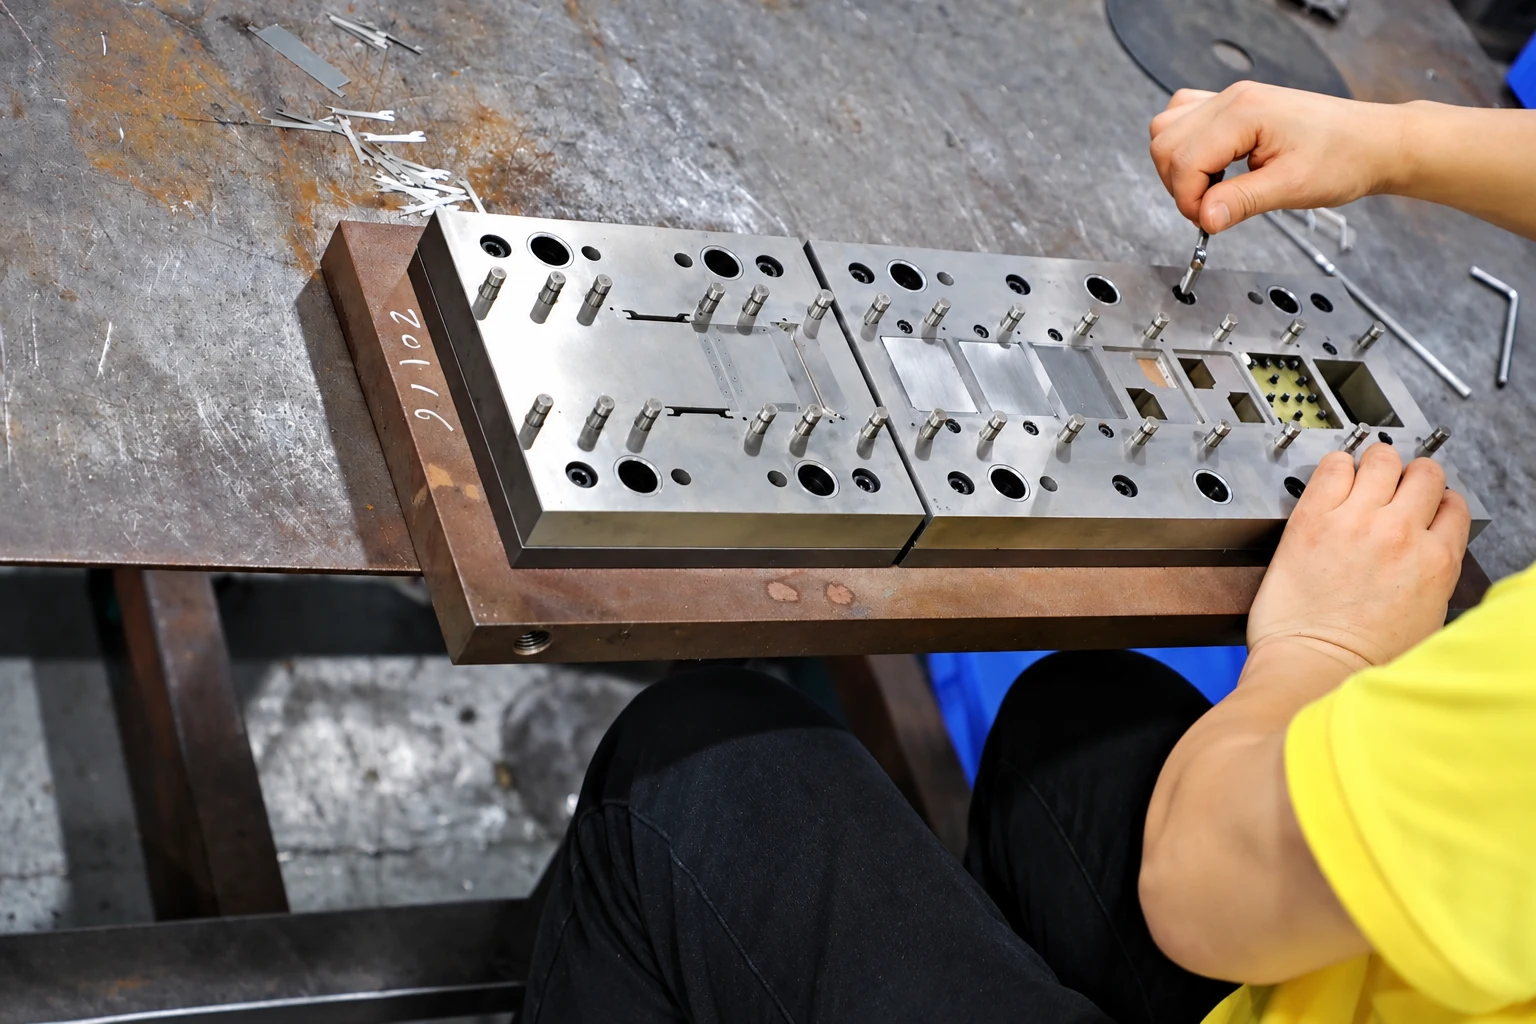
Paid samples include a full dimensional inspection report. Define drawing datums, acceptance criteria and corresponding mating parts so measurement and installed-fit checks can each answer the correct question. Confirm the charges, responsibilities and revision requirements for design changes, tooling work and later production stages within the project scope.
Paid samples and project planning
Samples are chargeable. Reference planning: standard samples 3–5 days; expedited sampling 48 hours; tooling and sample production 7–10 days. These are sample-stage arrangements, excluding mass-production delivery. The project plan is reviewed against the confirmed information, process and sample scope.
Related structures and project directions
Compare references through their coverage, installation and manufacturing tasks.
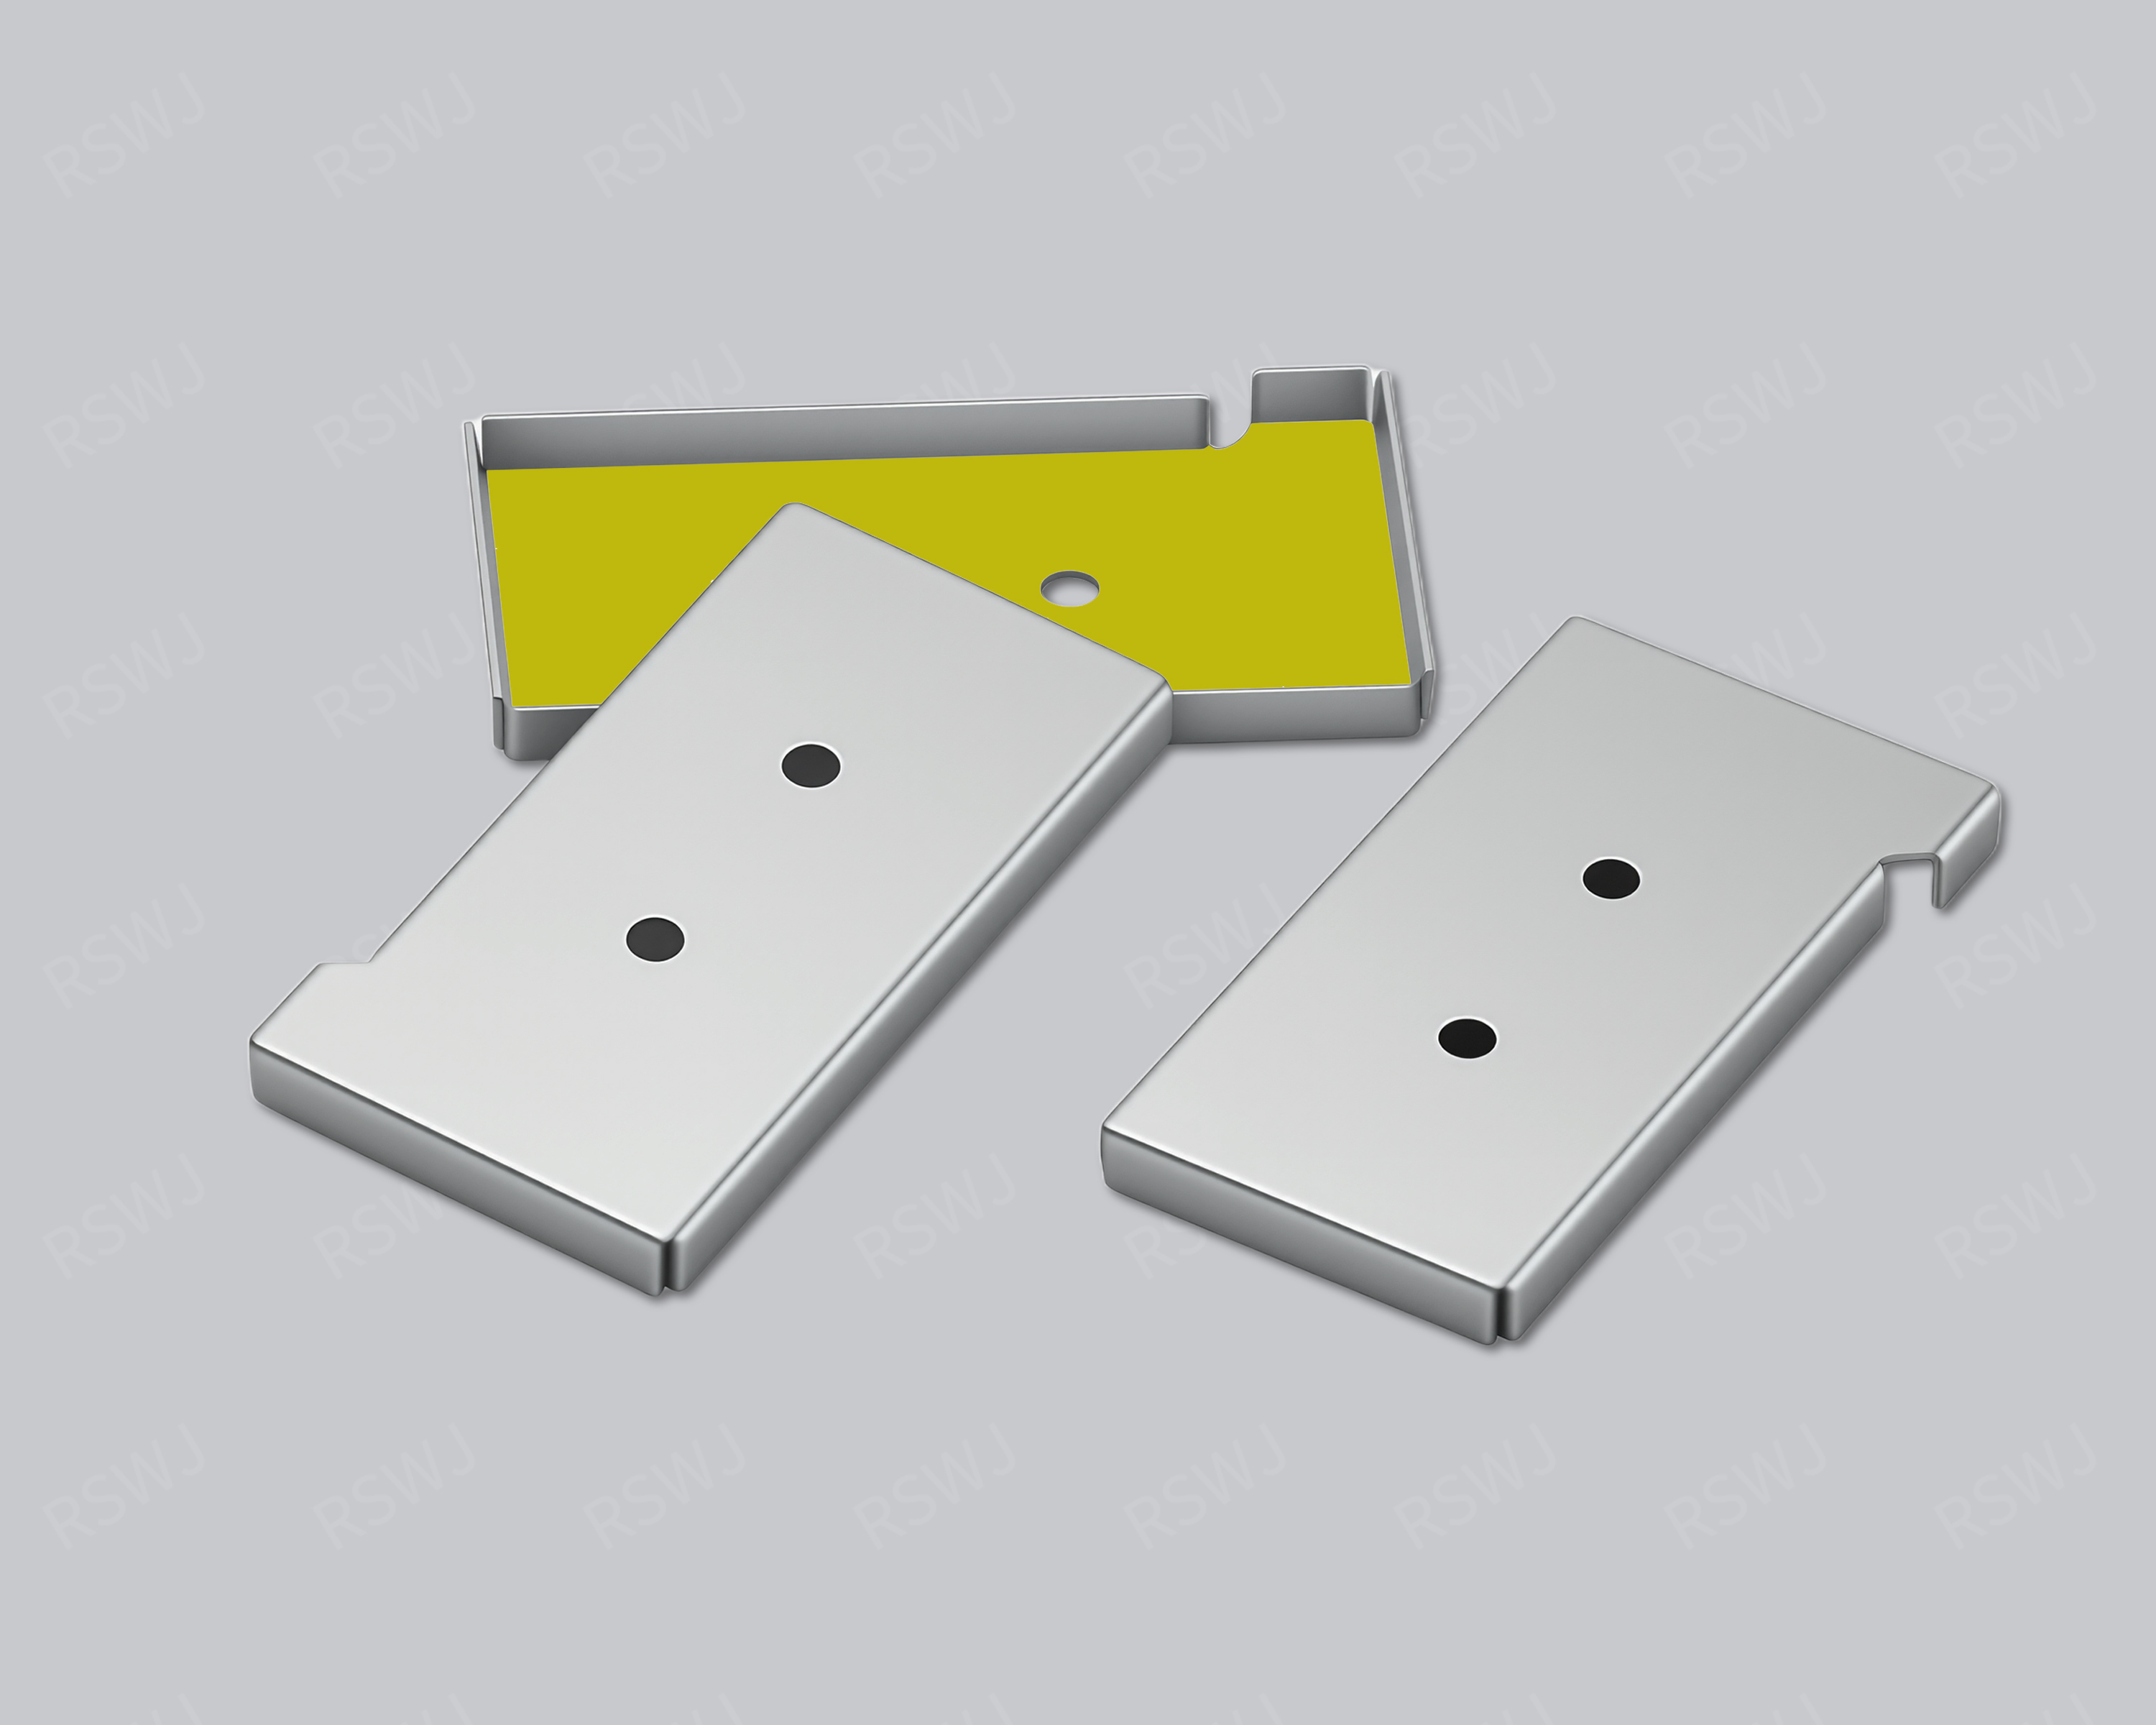
One-Piece Shielding Can
A one-piece shielding can combines the roof and sidewalls in one body for local PCB coverage.
Design & manufacturing details →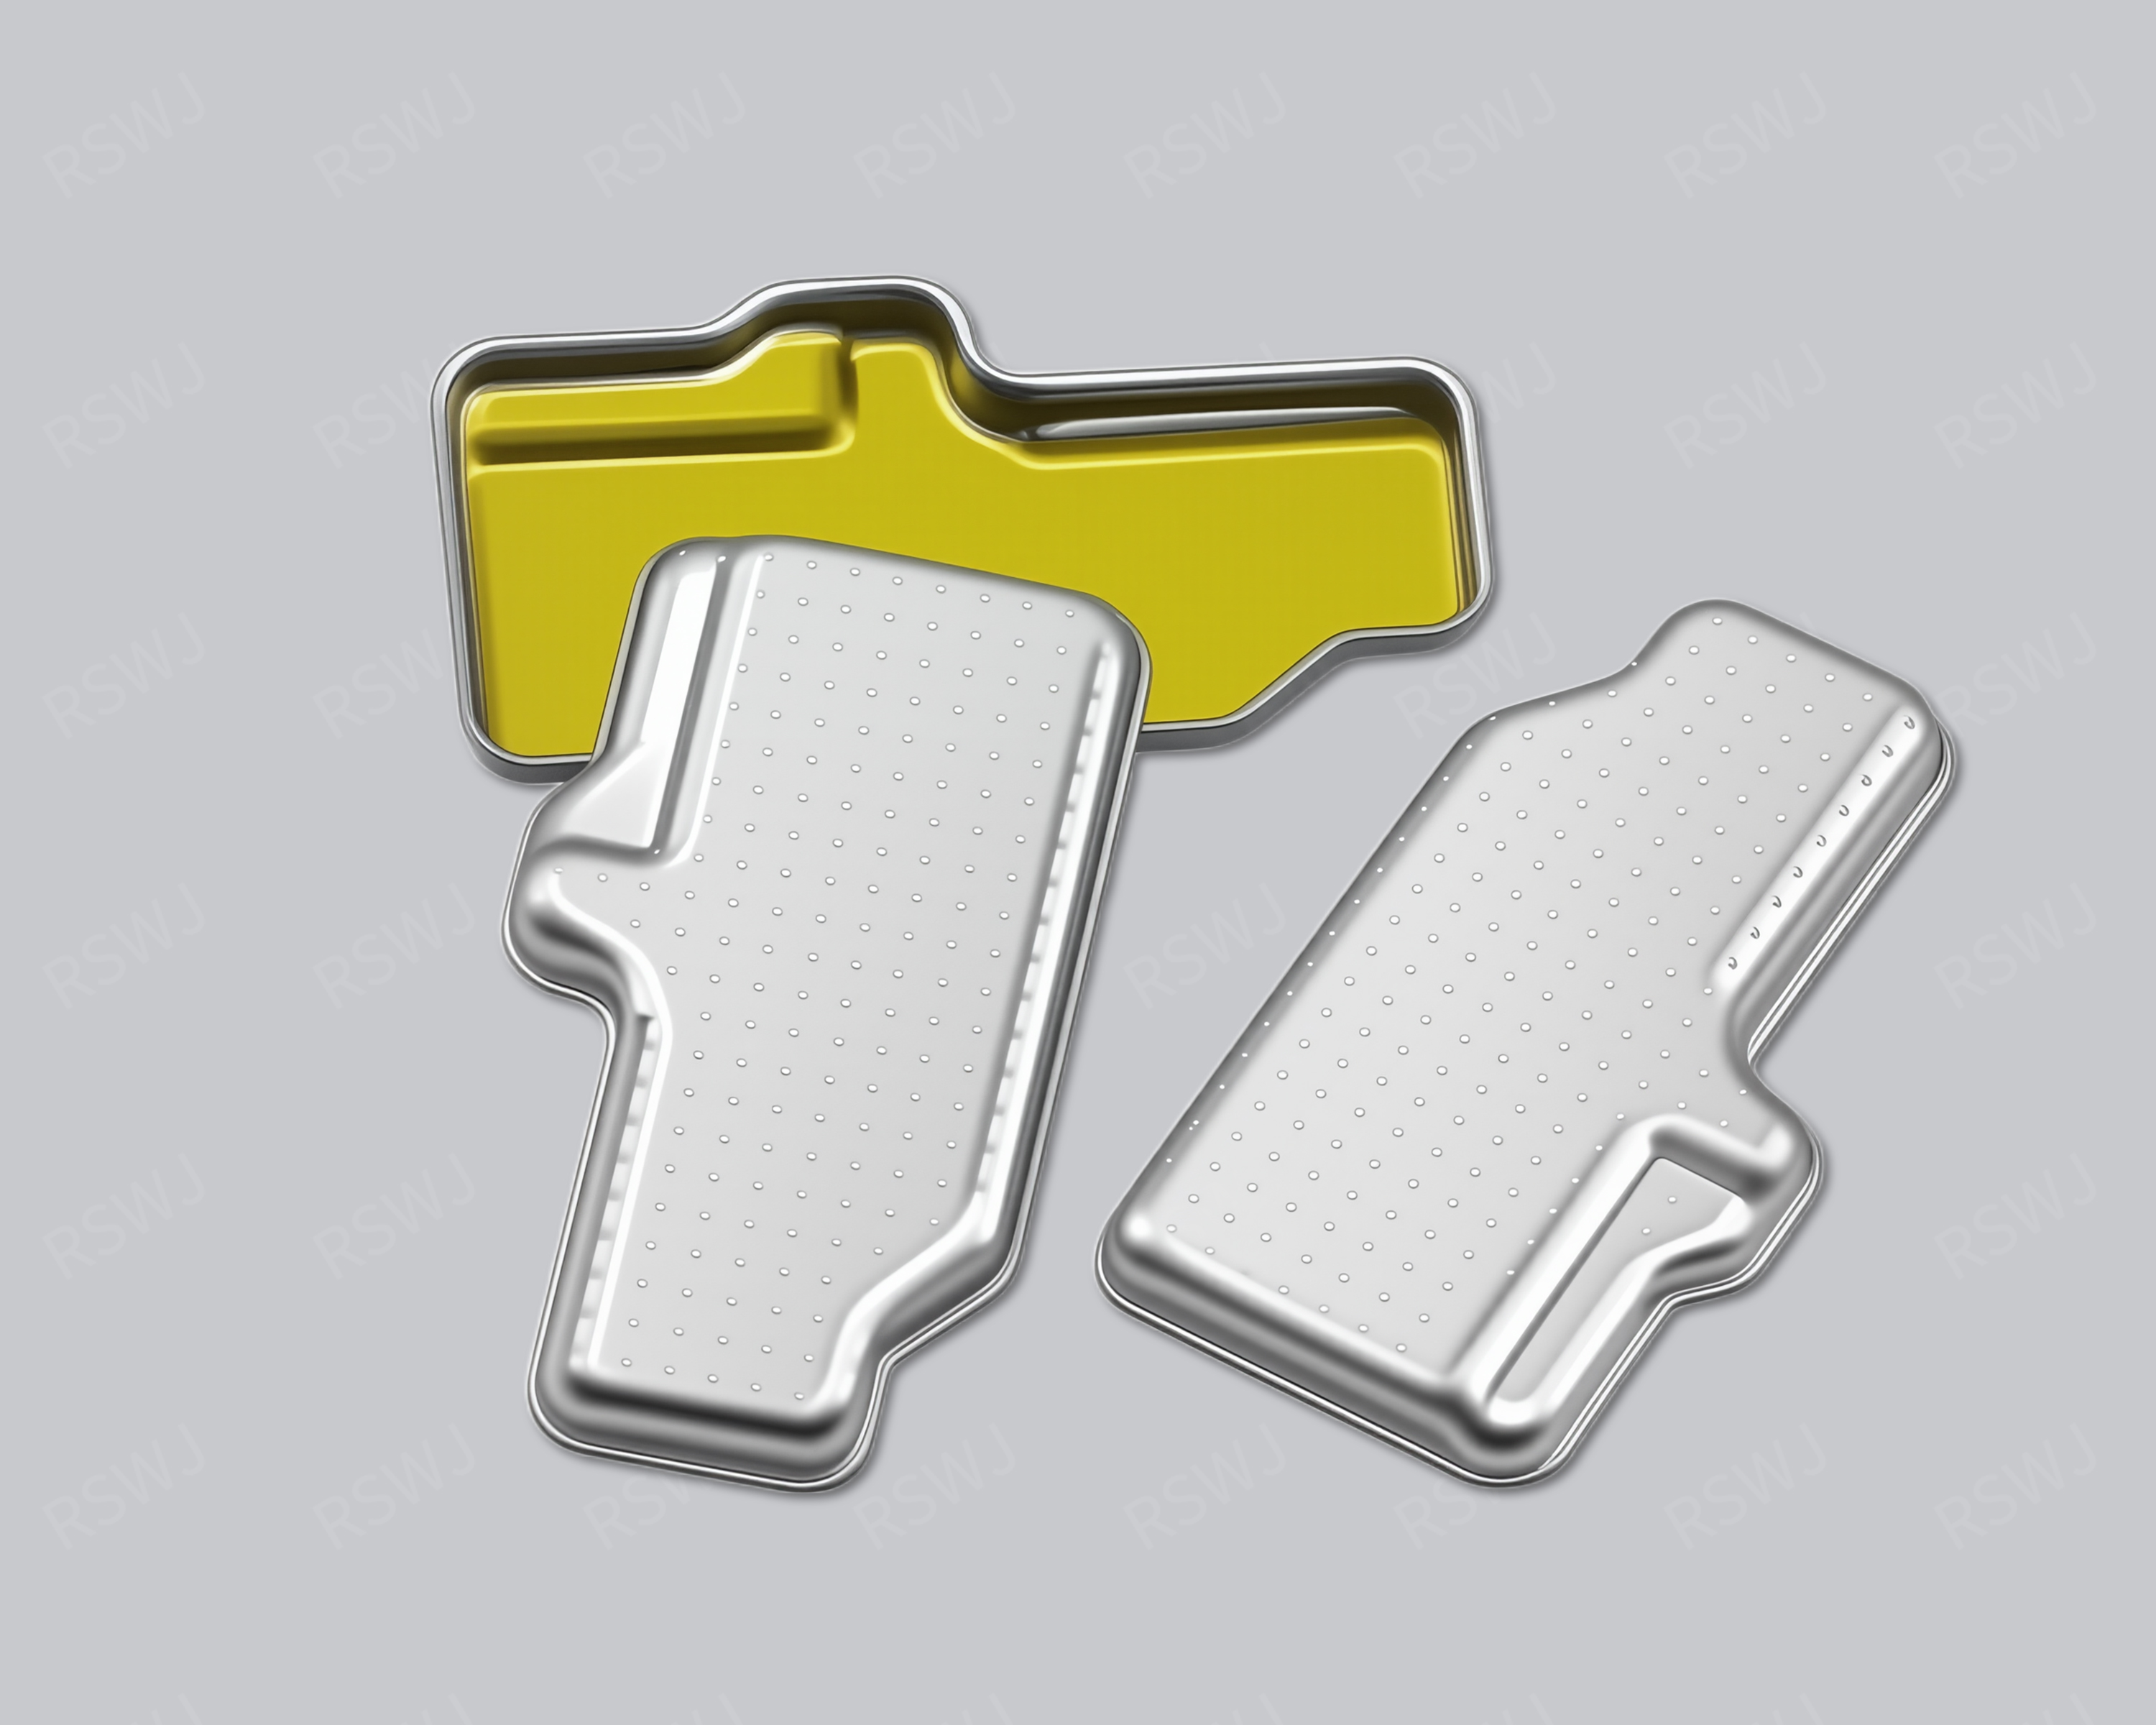
Custom One-Piece Shielding Can
A one-piece shielding can combines the roof and sidewalls in one body for local PCB coverage.
Design & manufacturing details →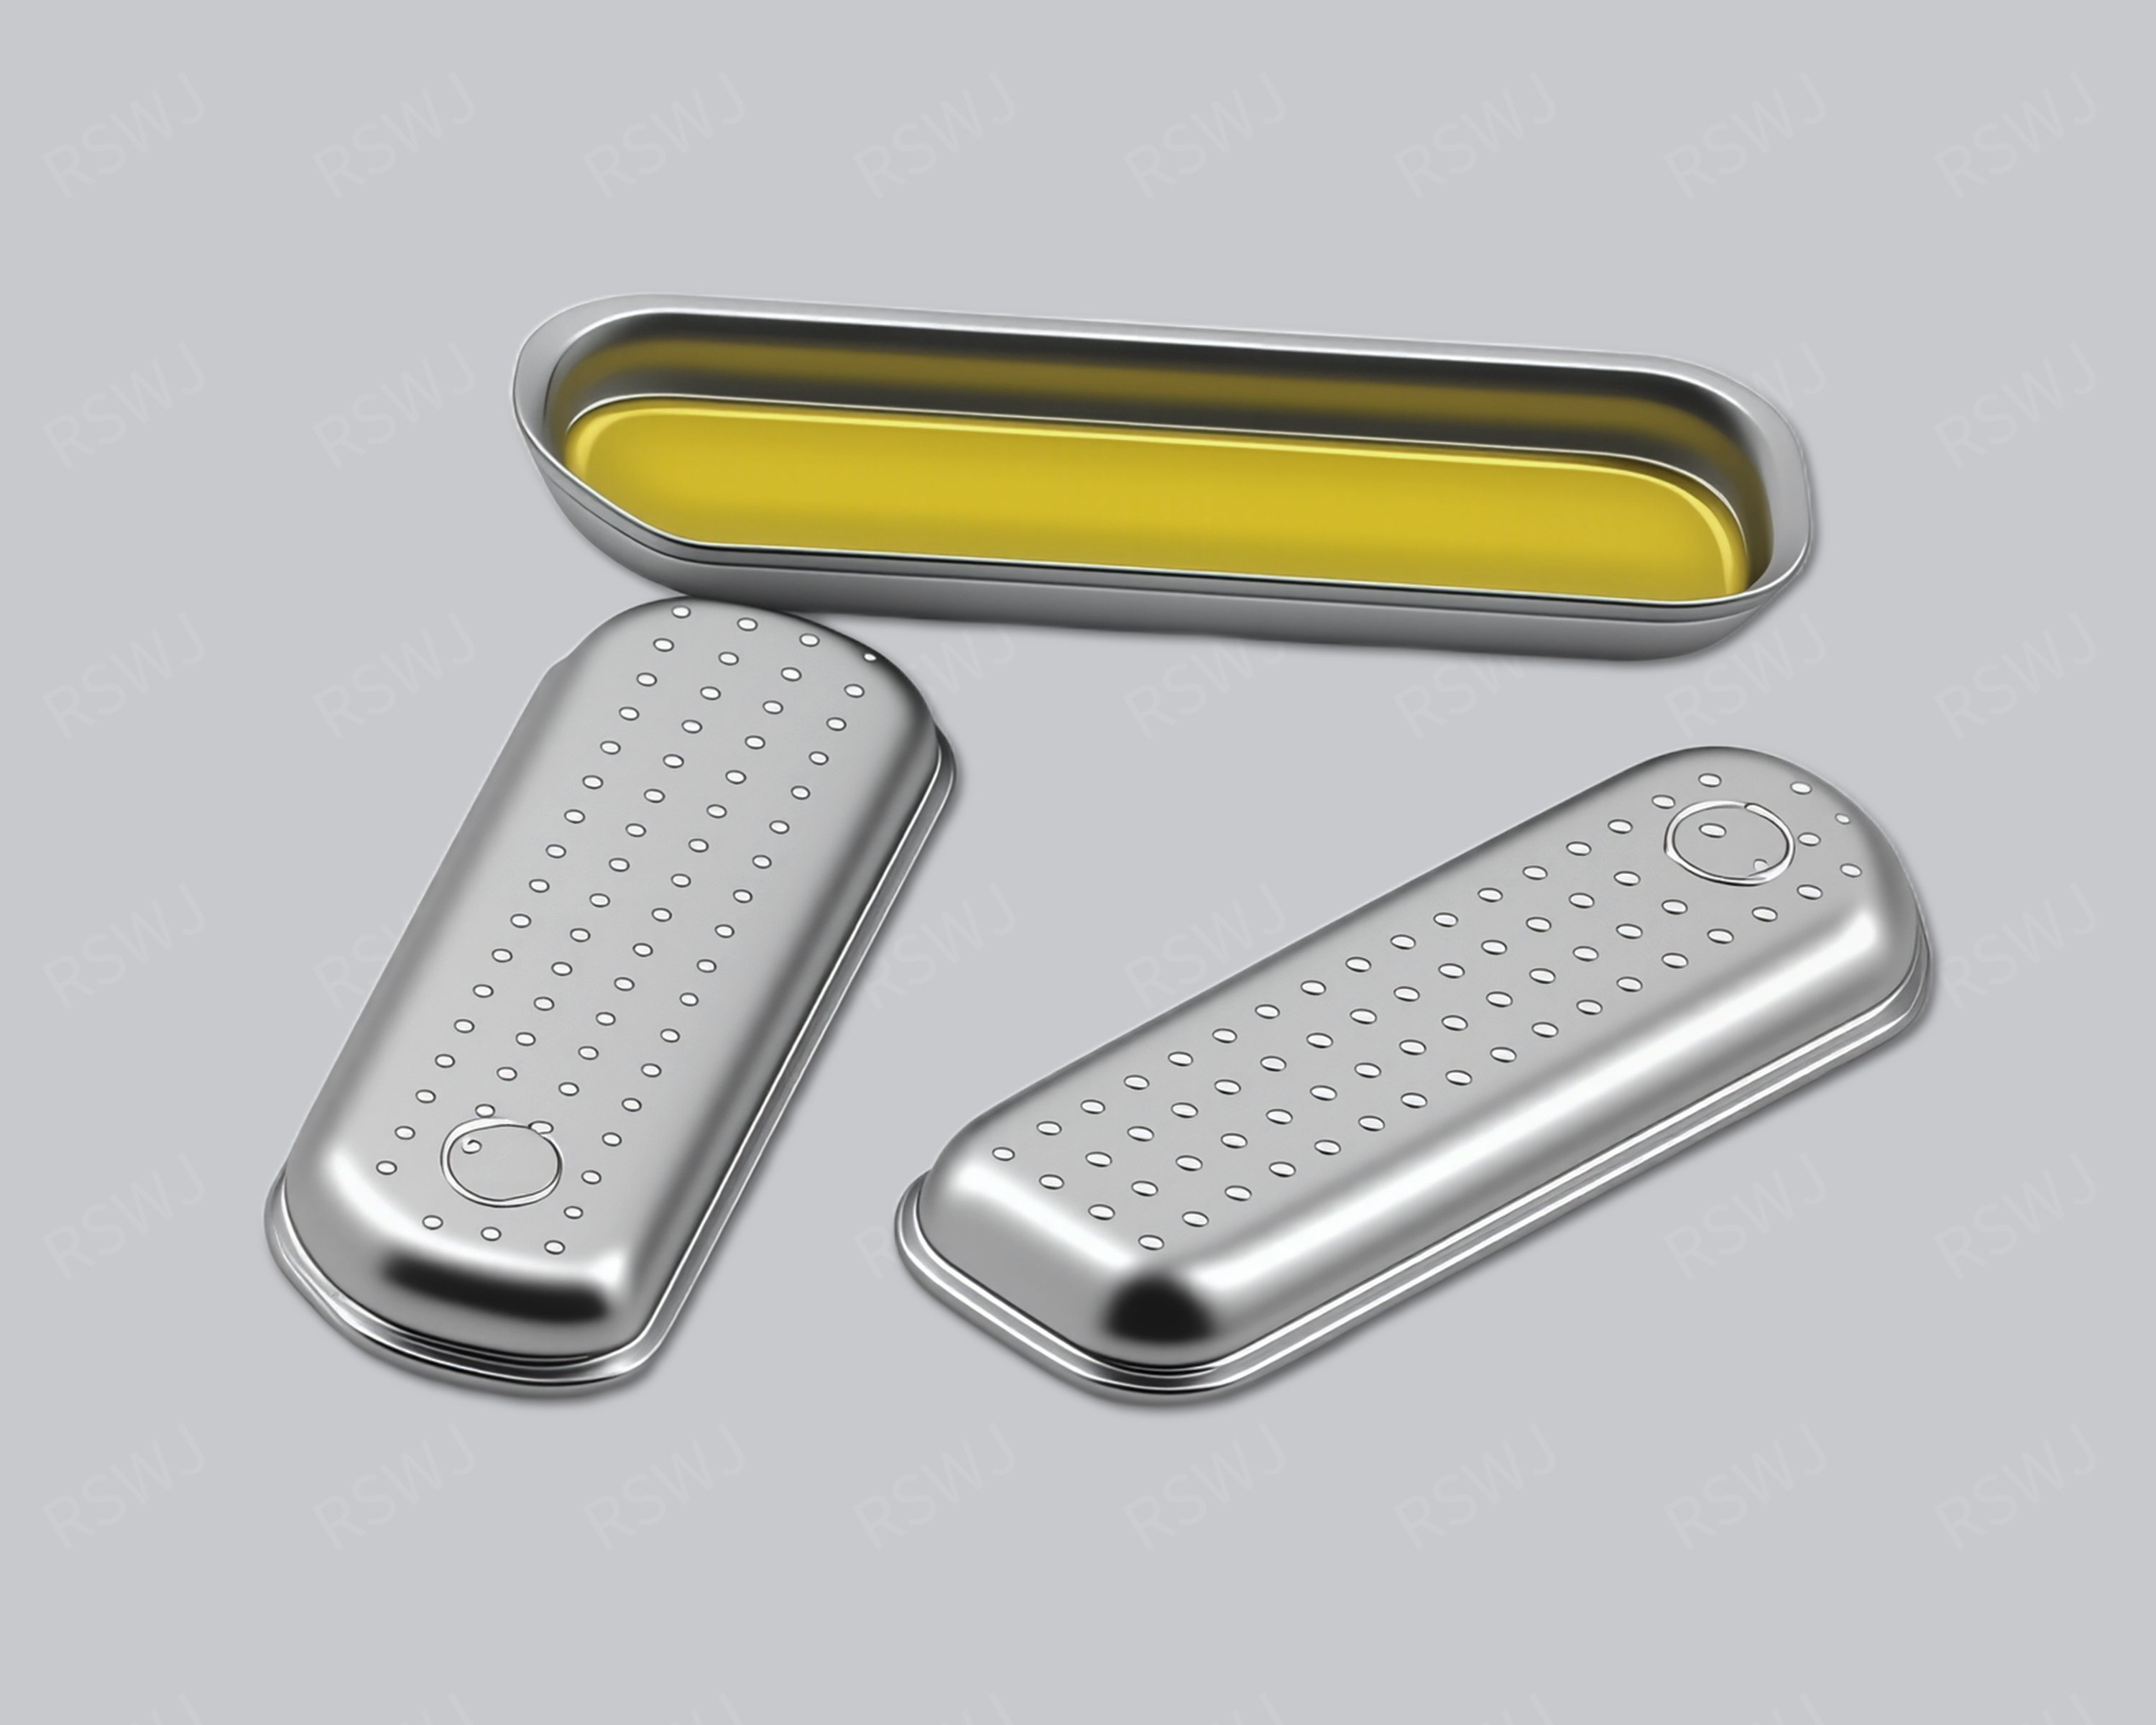
Single-Body Formed Shielding Can
A one-piece shielding can combines the roof and sidewalls in one body for local PCB coverage.
Design & manufacturing details →Discuss your Miniature Shielding Can project
Send the current drawing and mating conditions so we can review the structure, material, sample scope and required checks.
Send your project requirementsExplore shield structures